Making the Rocking Chair
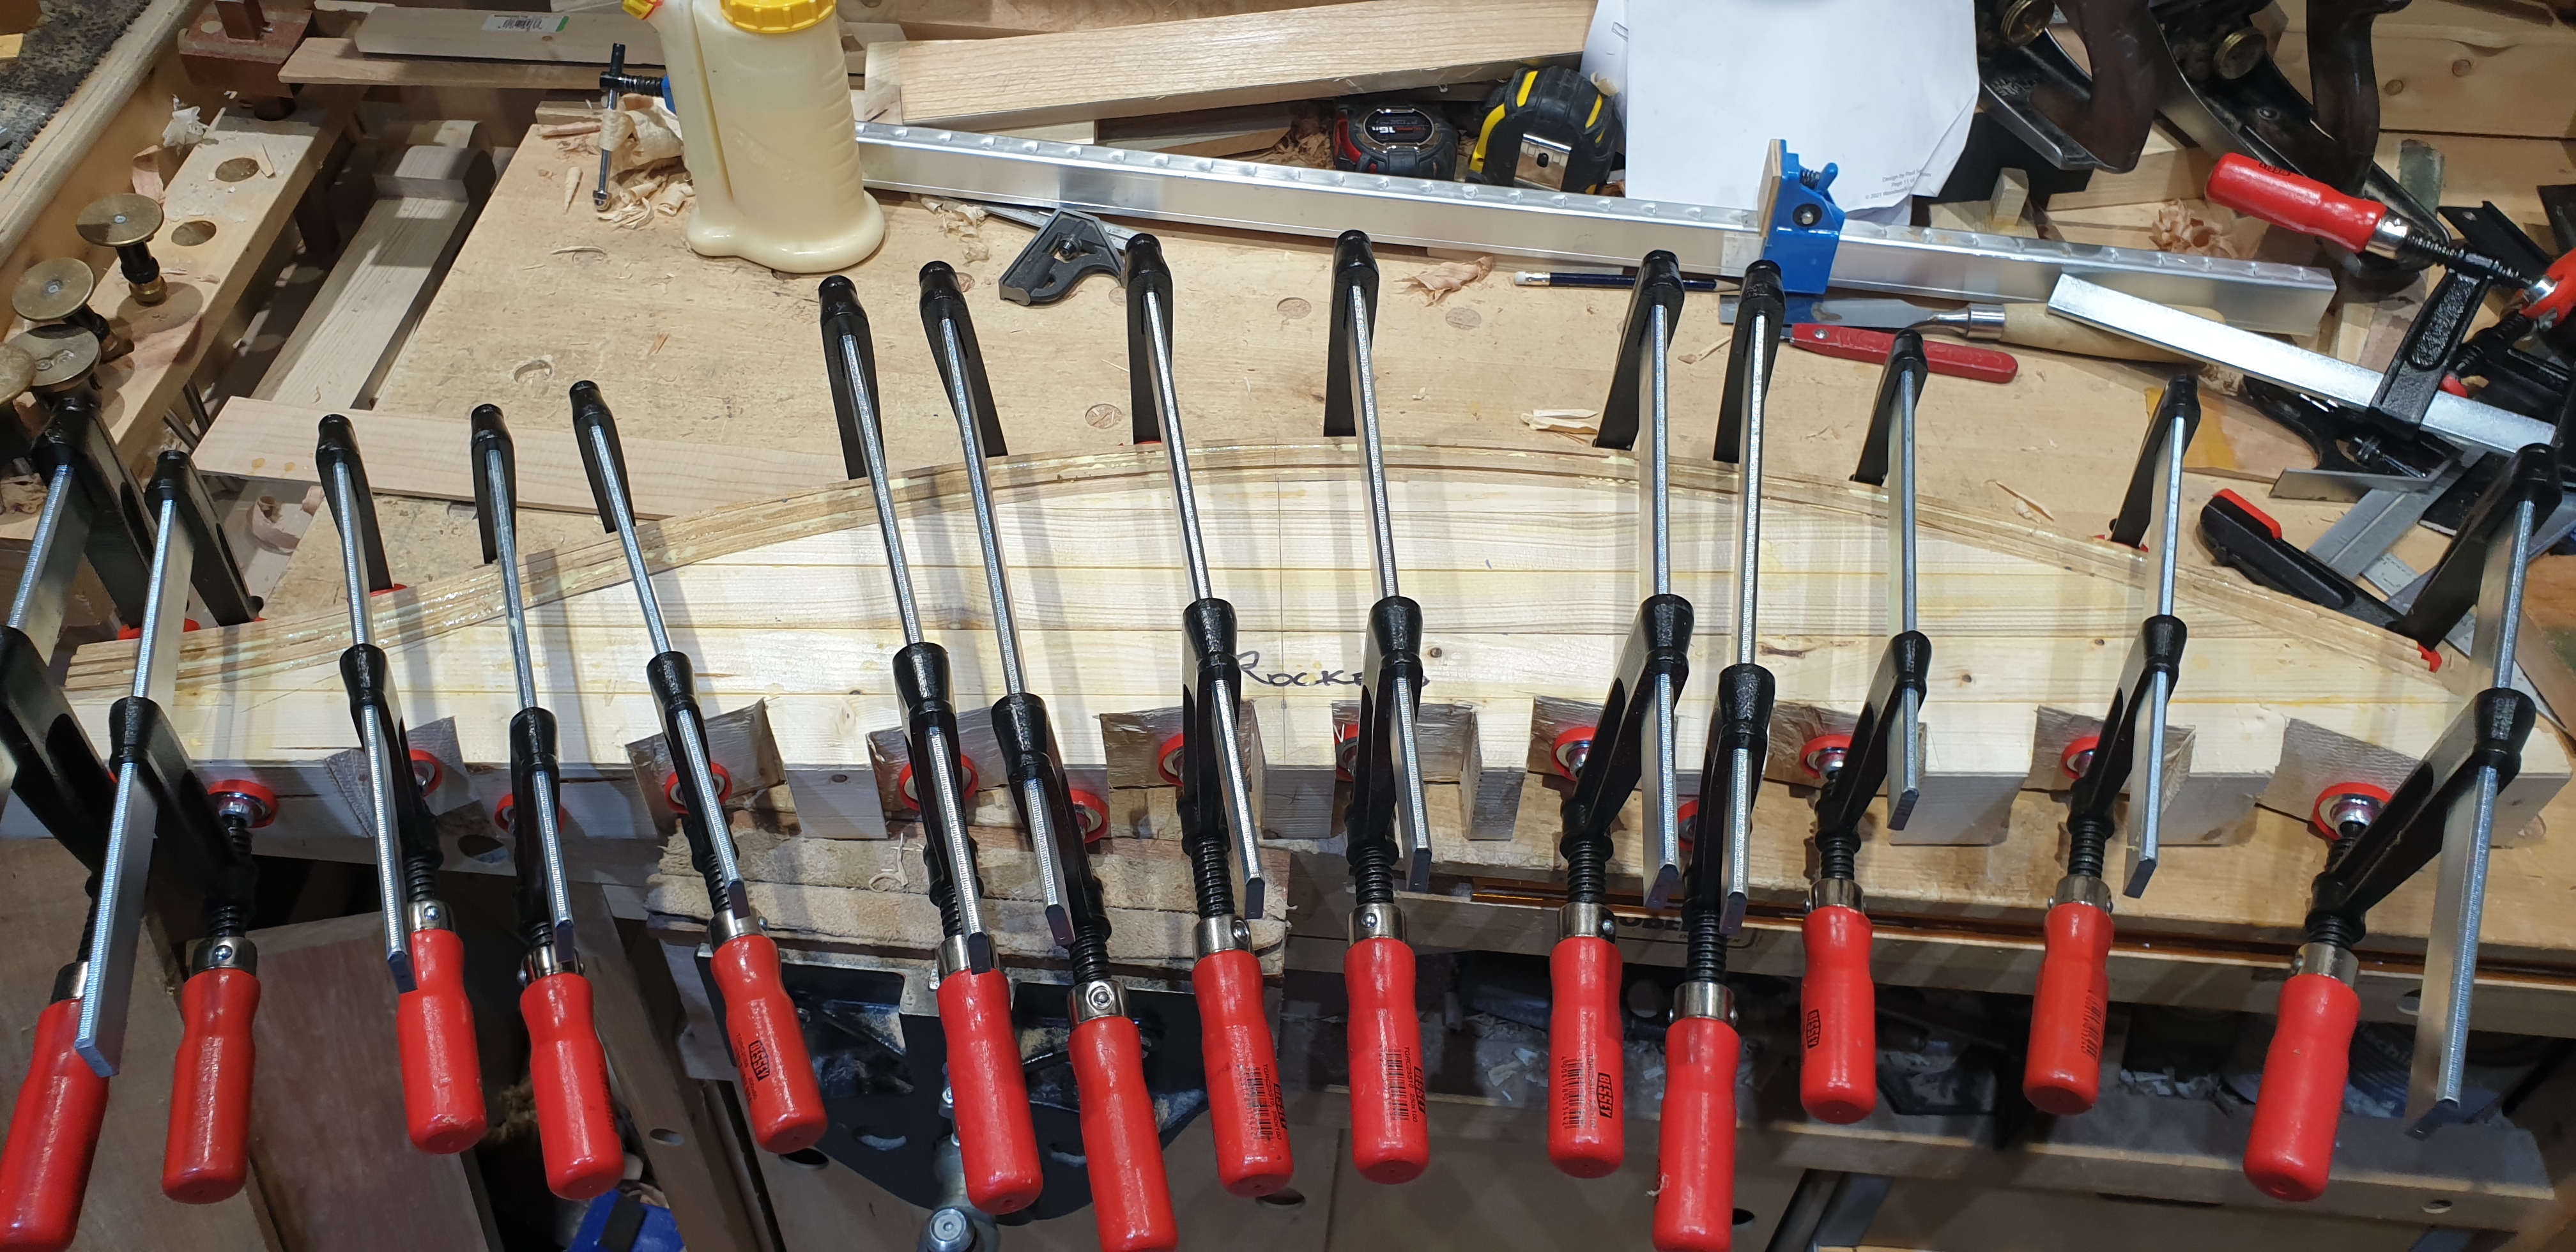 Gluing up the first rocker!
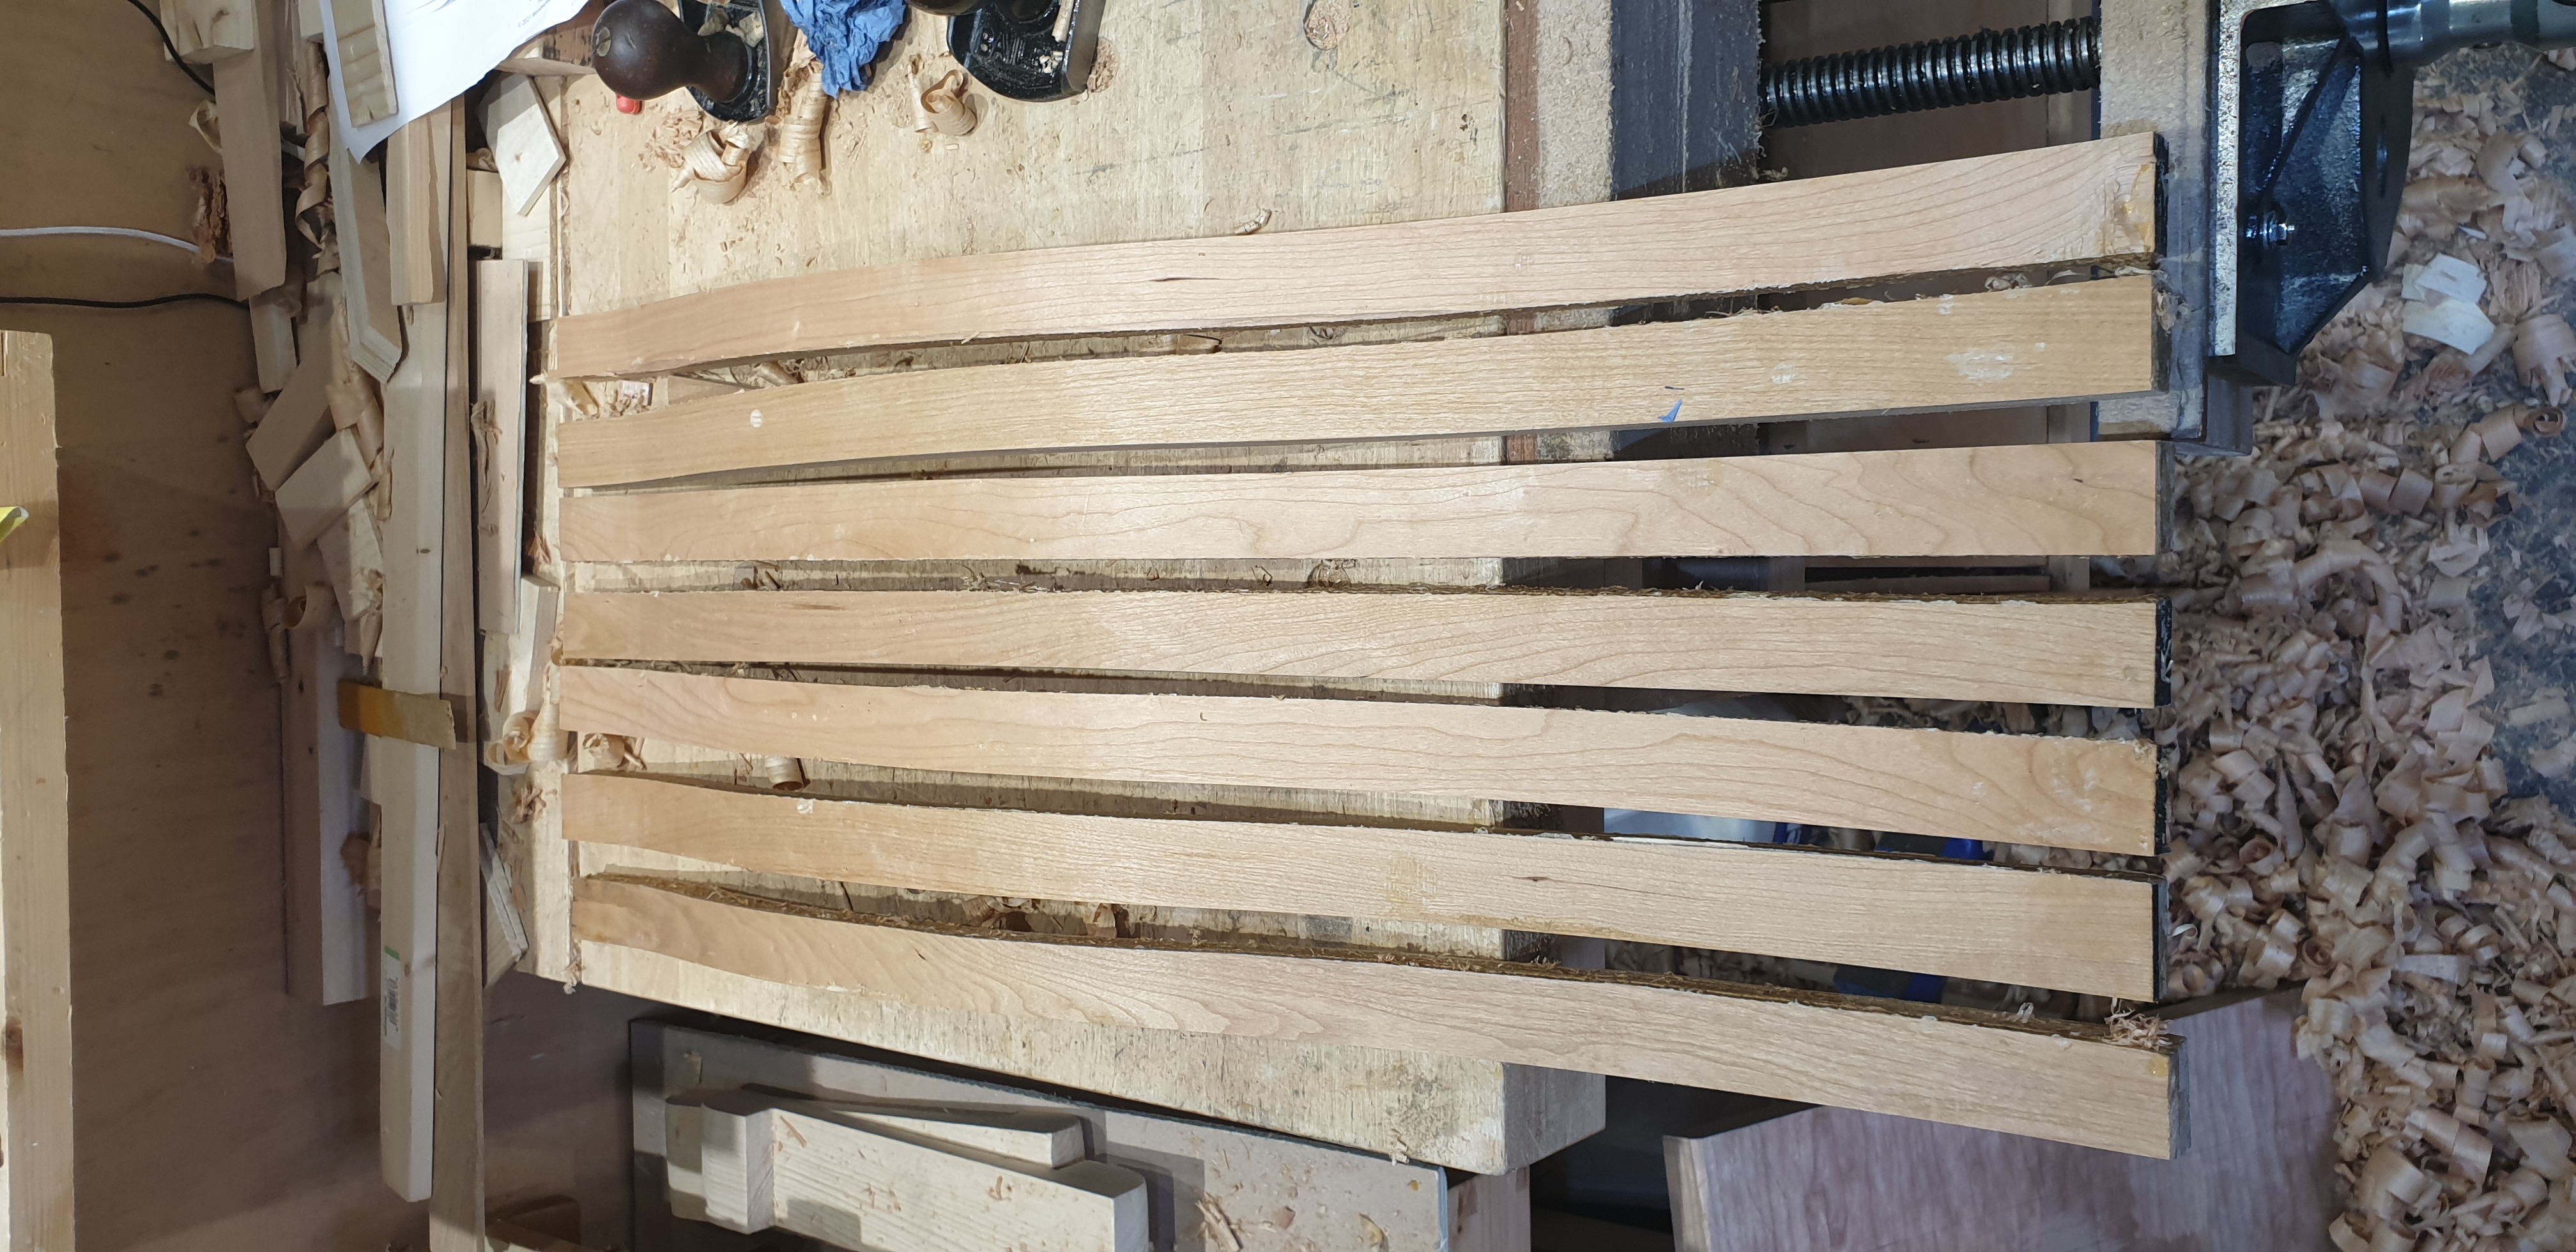
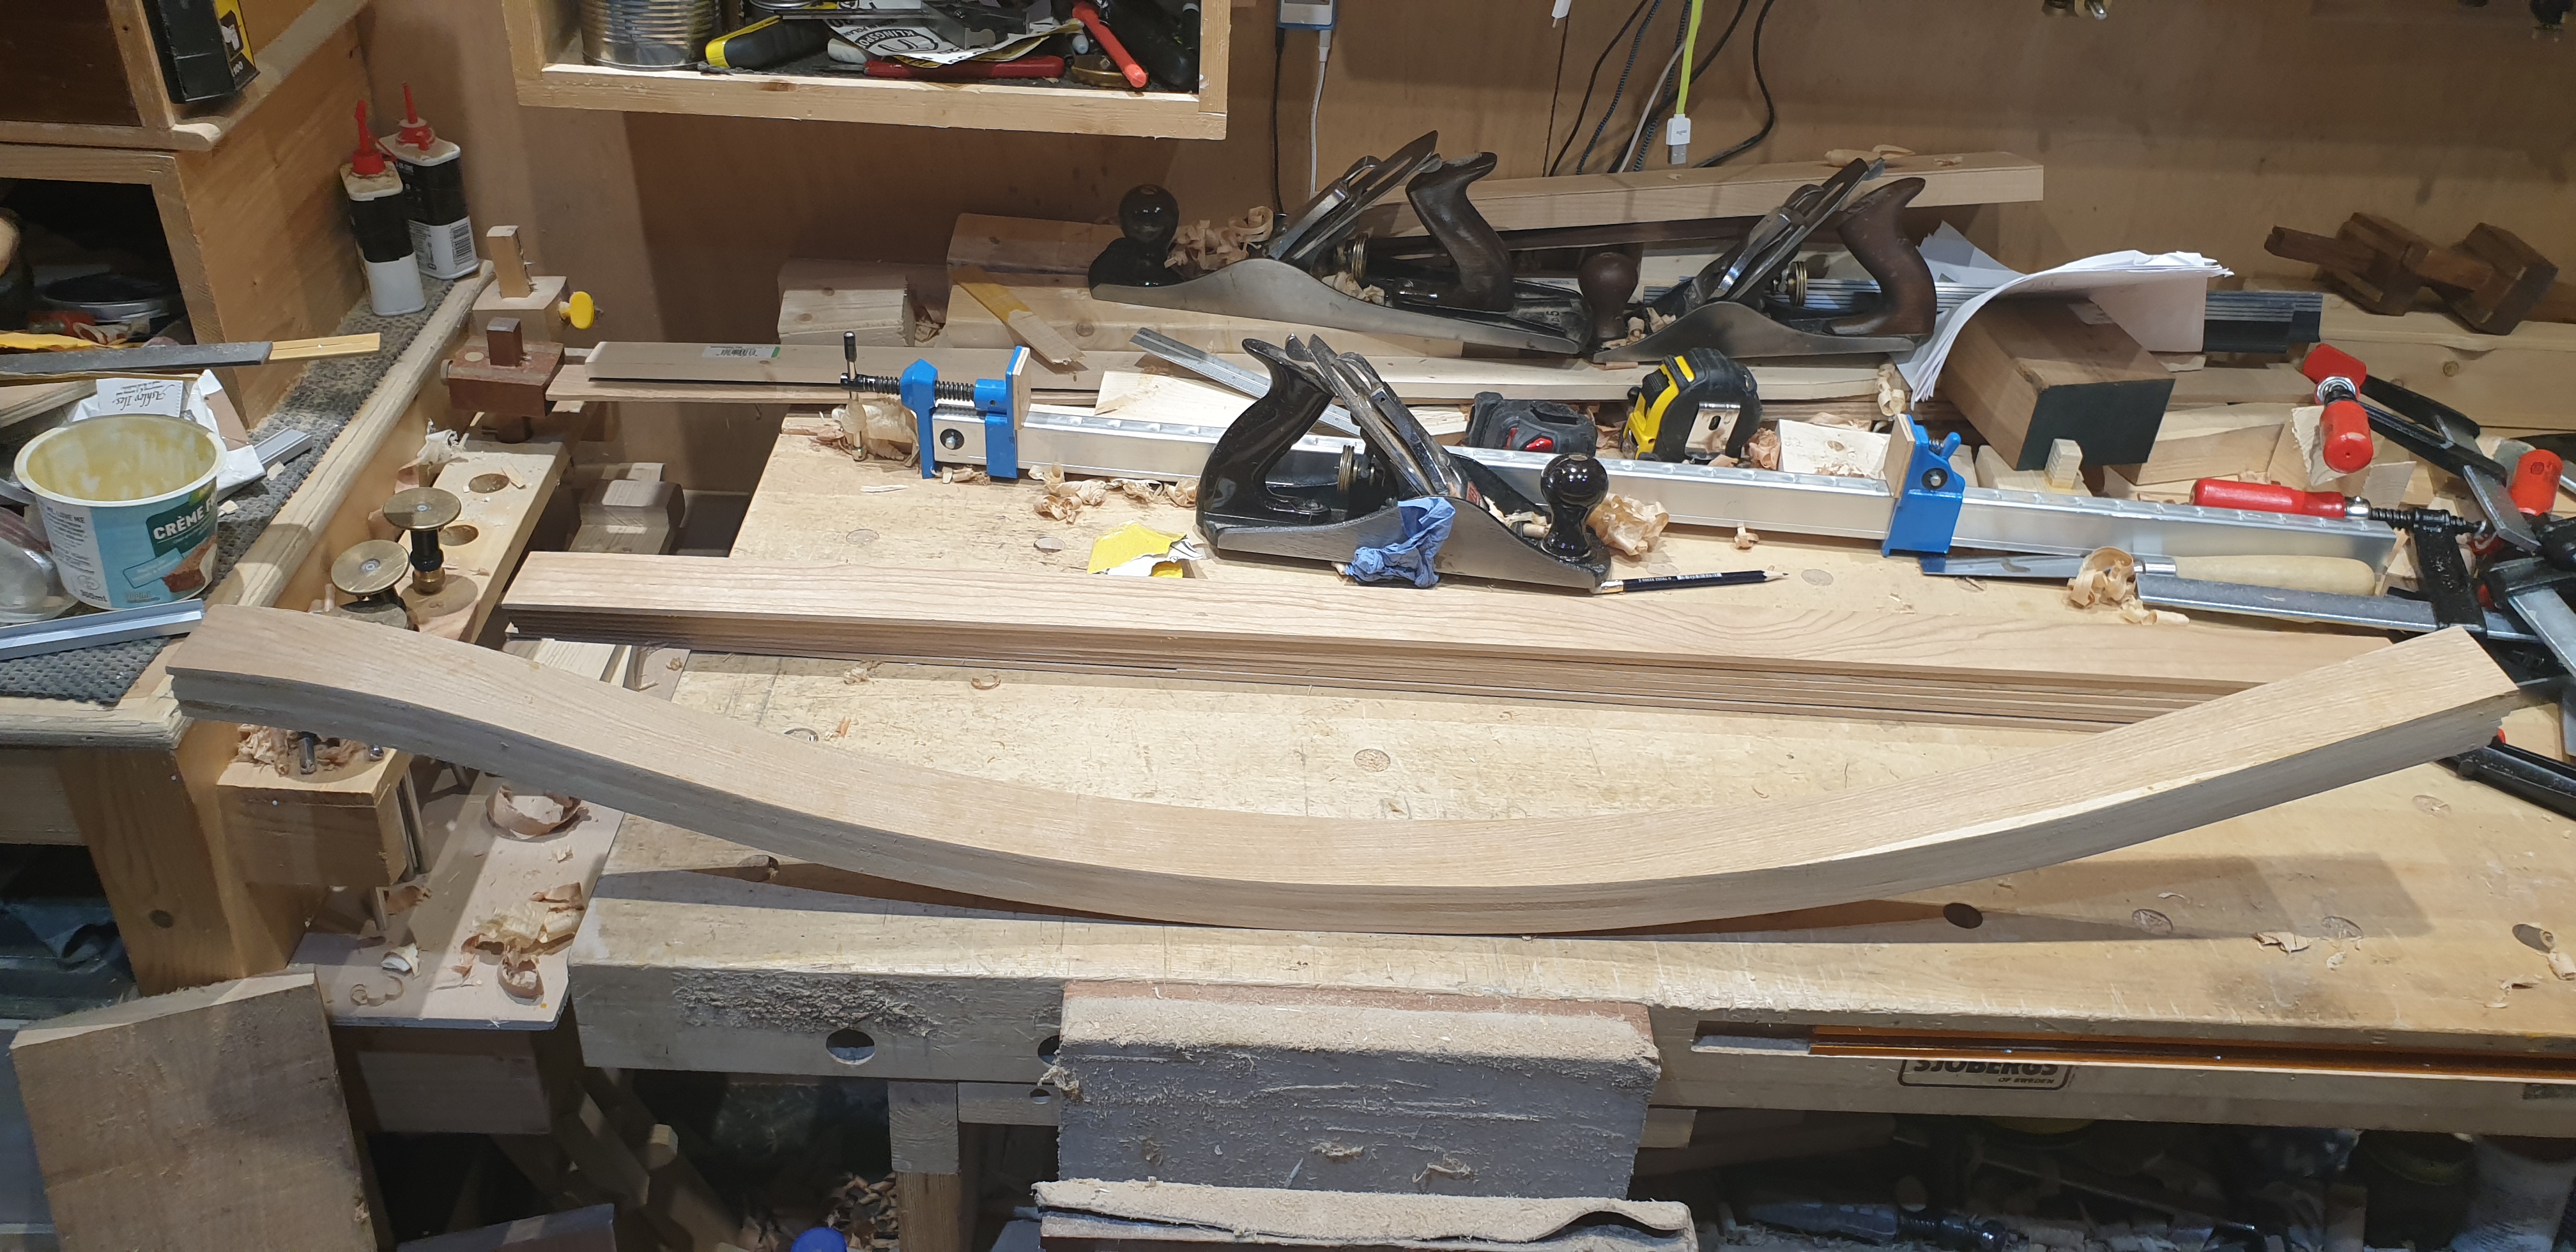 First rocker out of the clamps. Next the 2nd rocker and then 7 slats for the back rest. 5 x 4mm laminations for each.
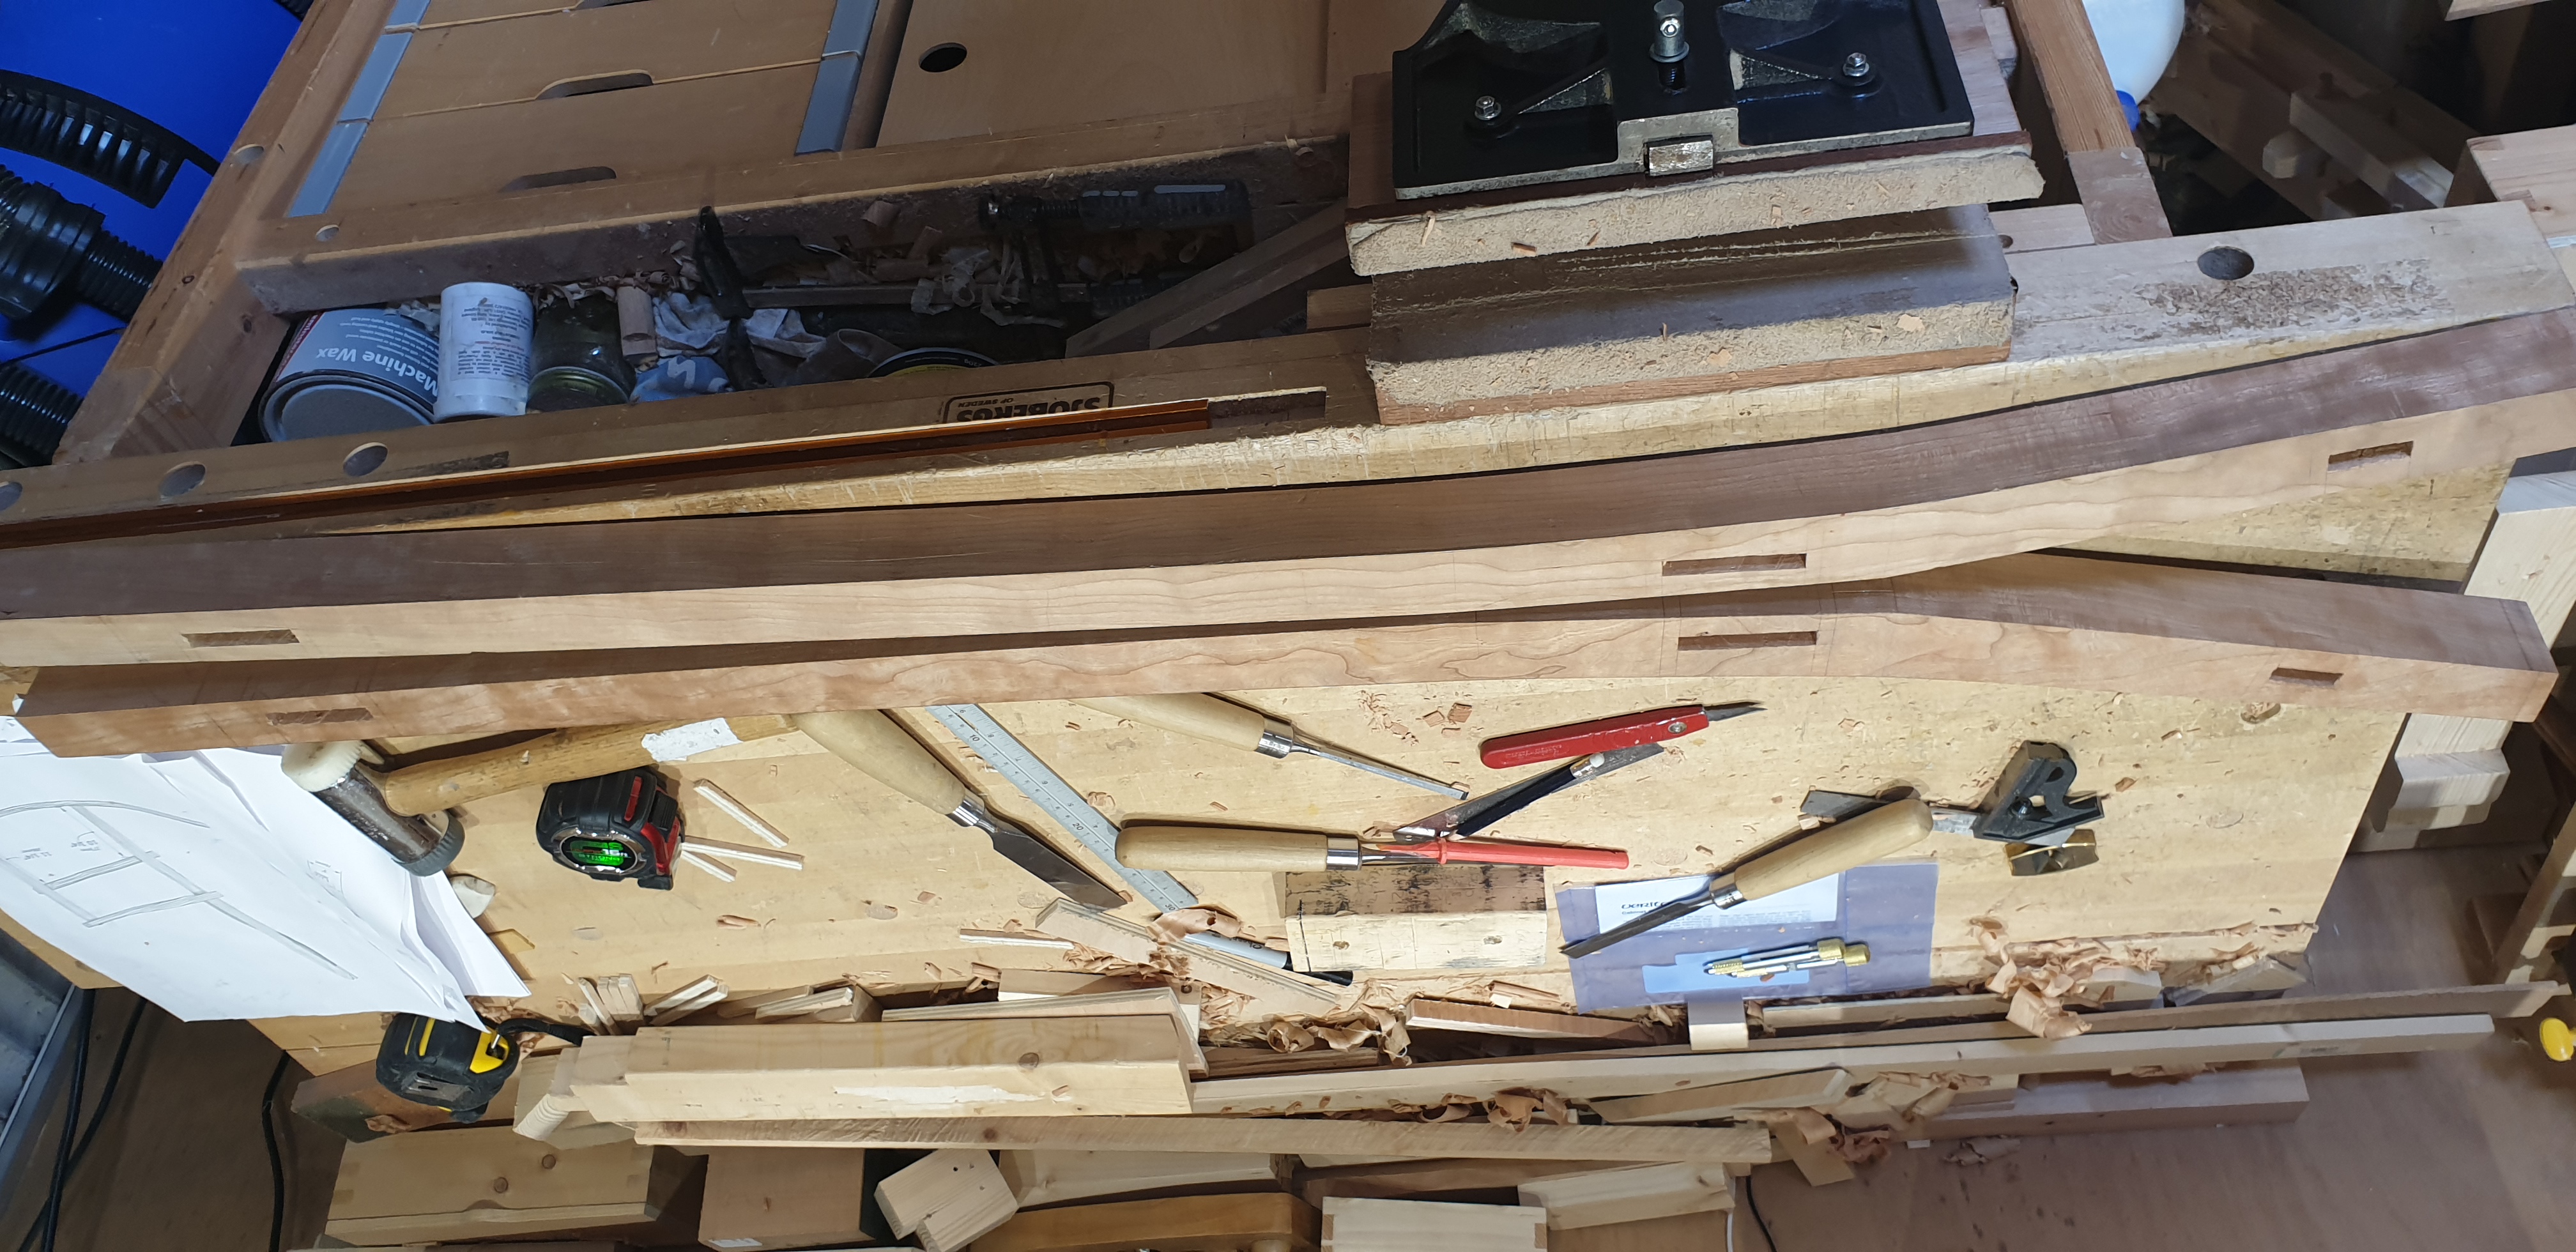 Putting mortices into the rear legs
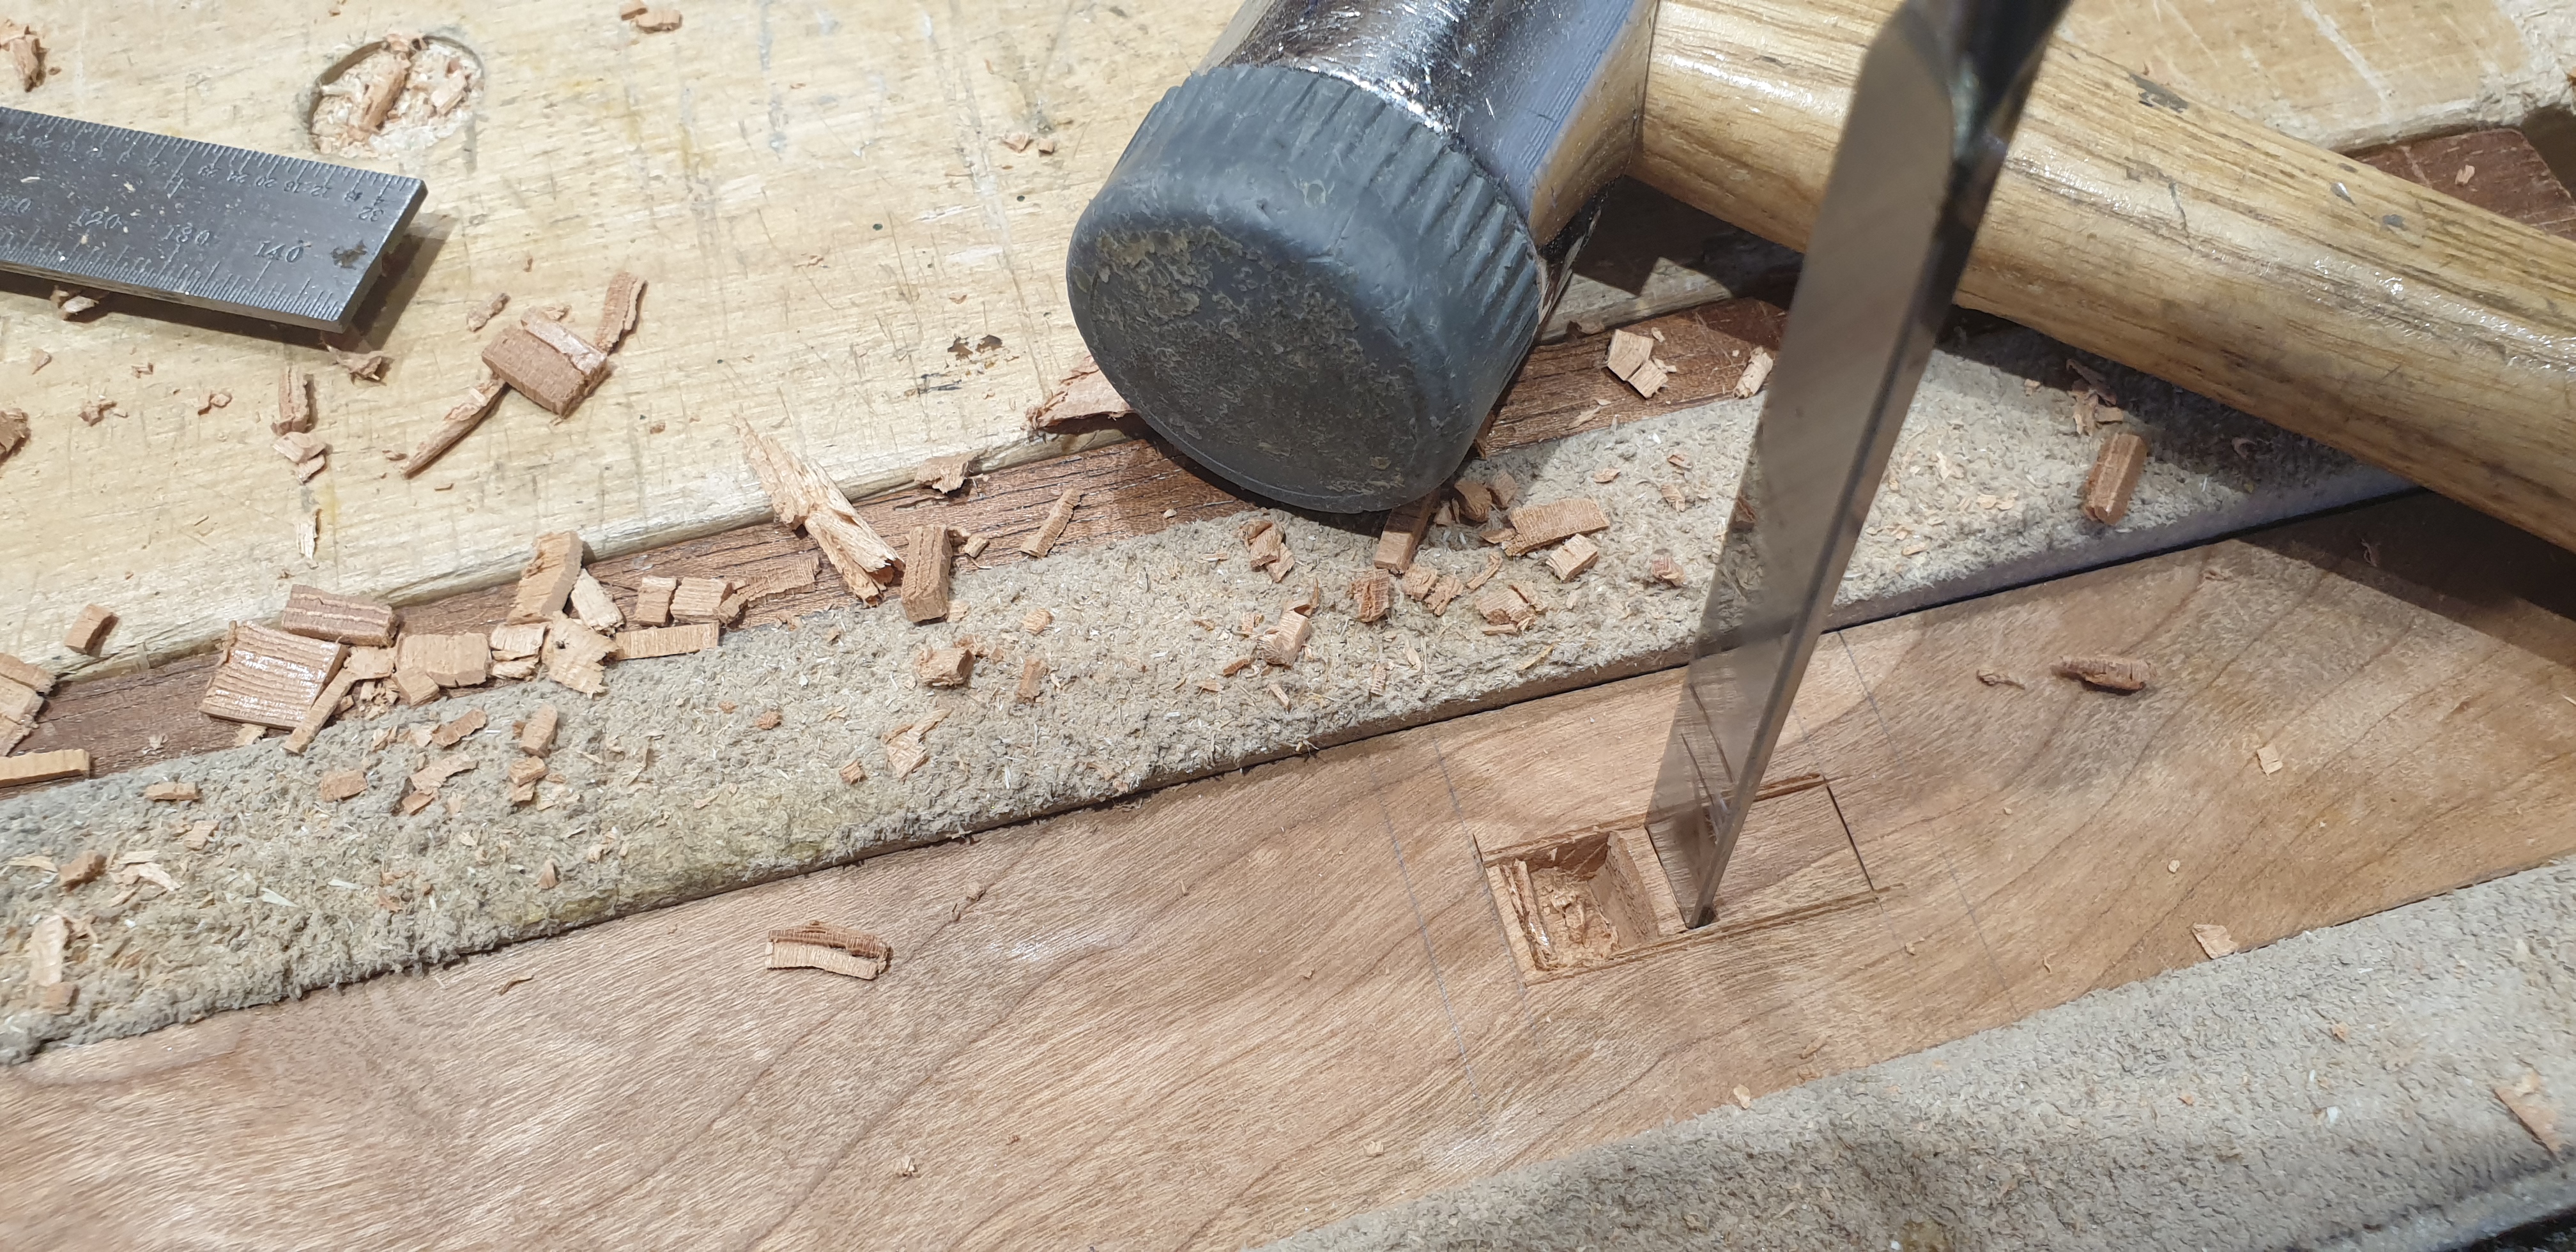
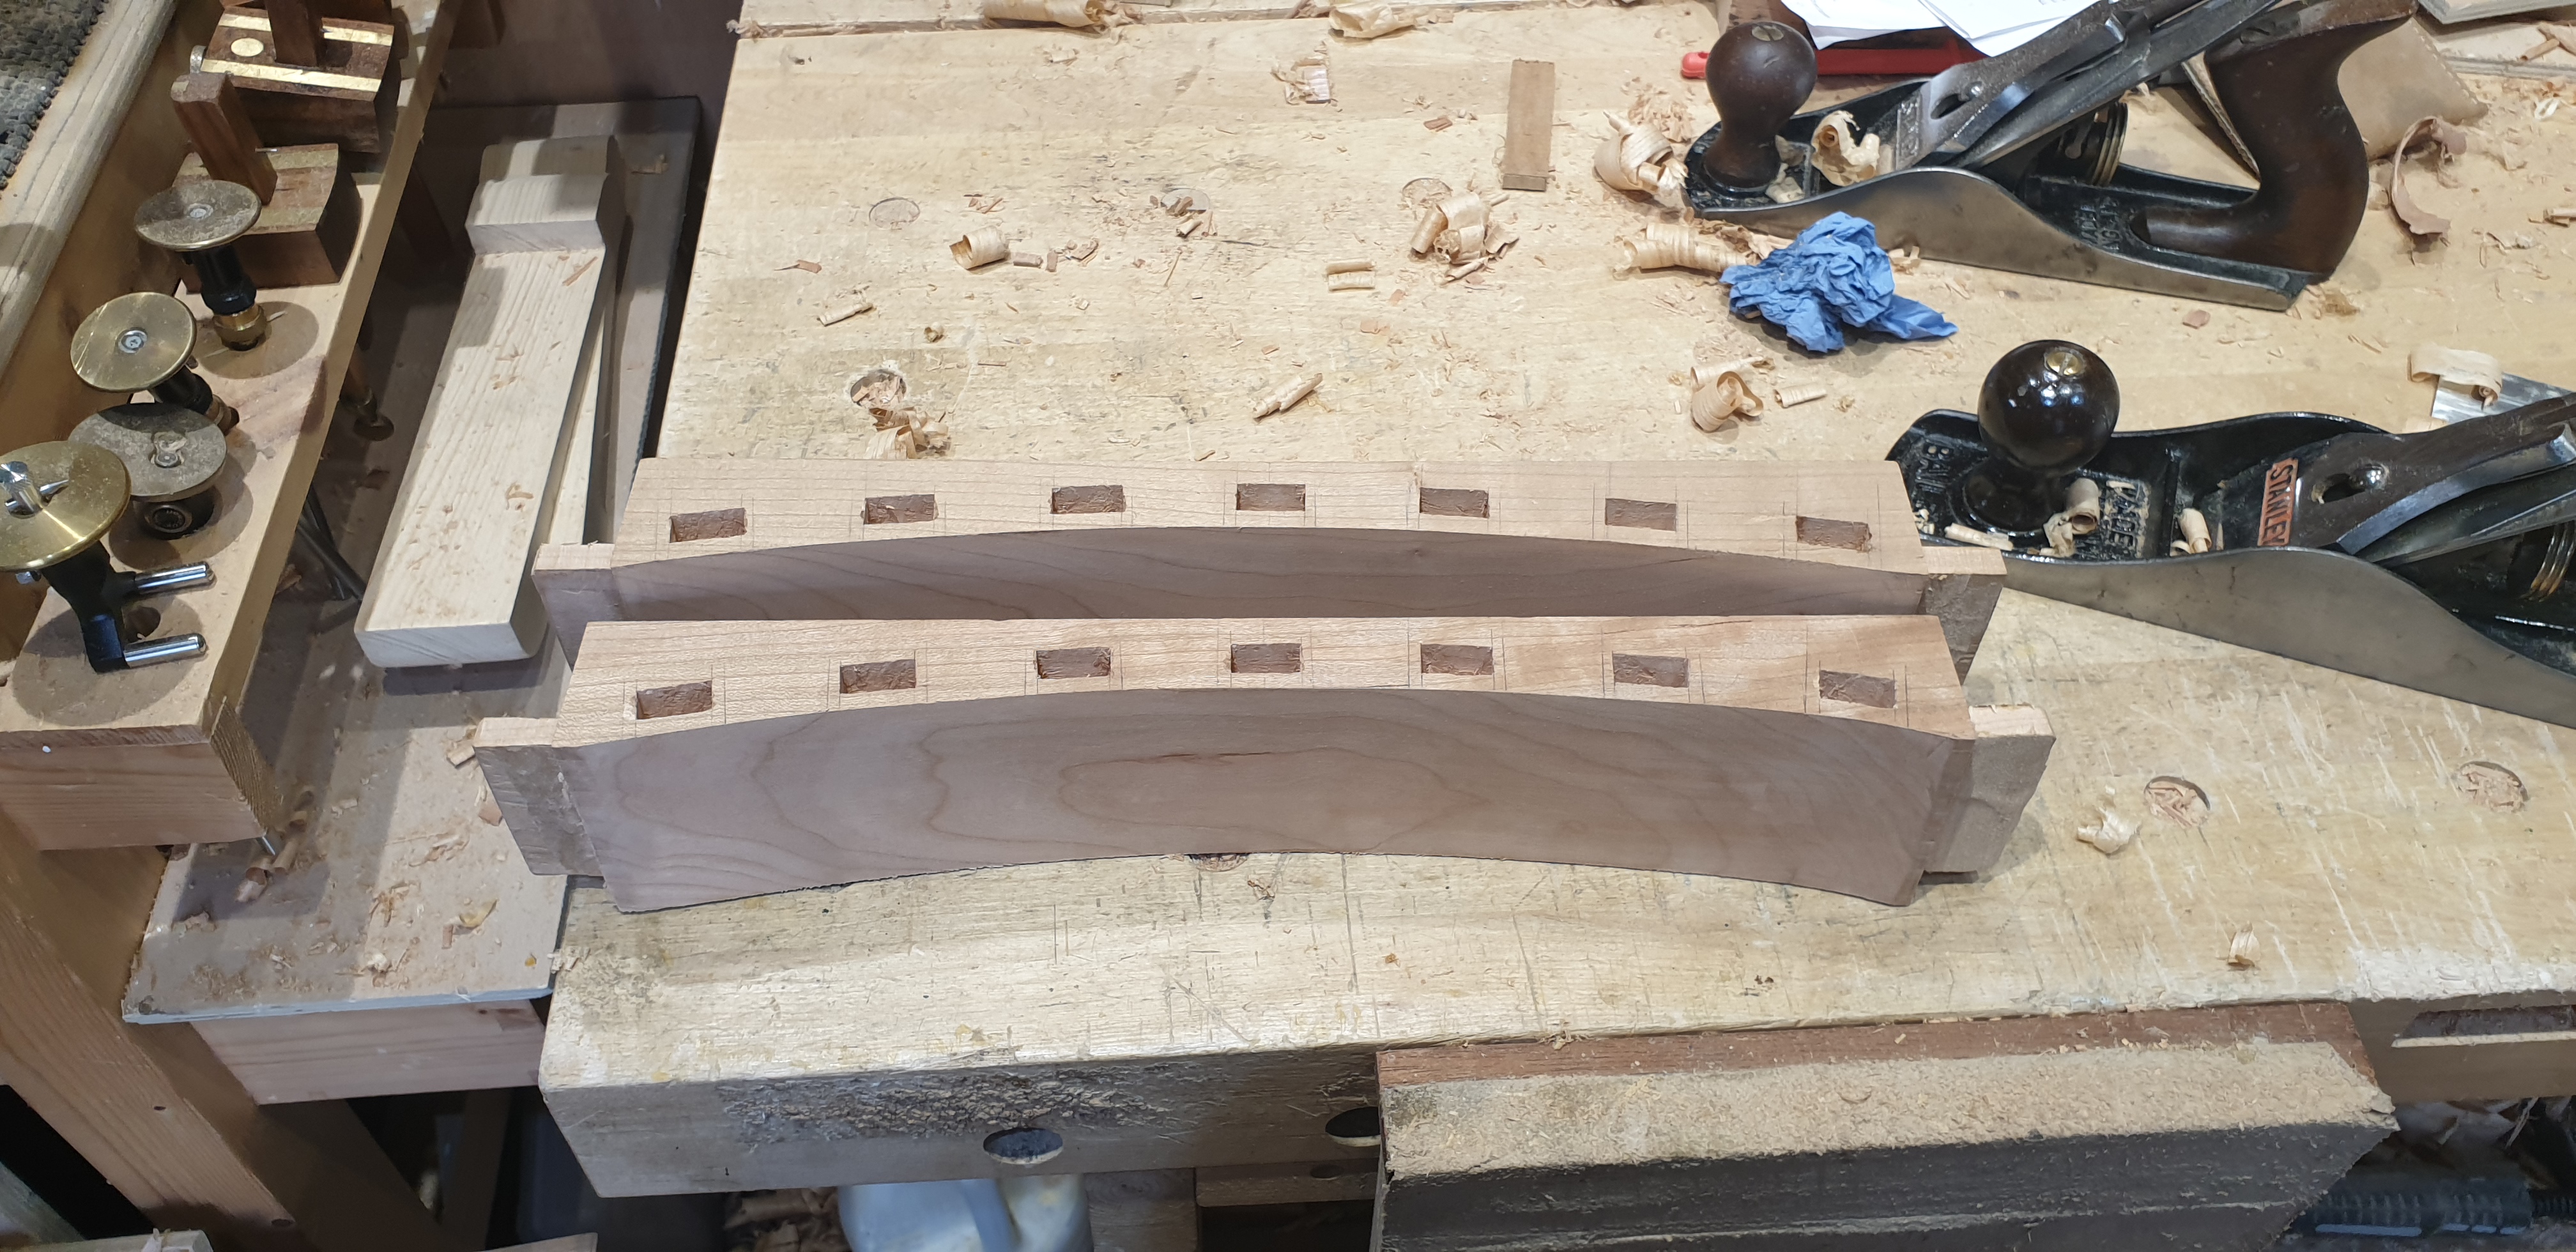
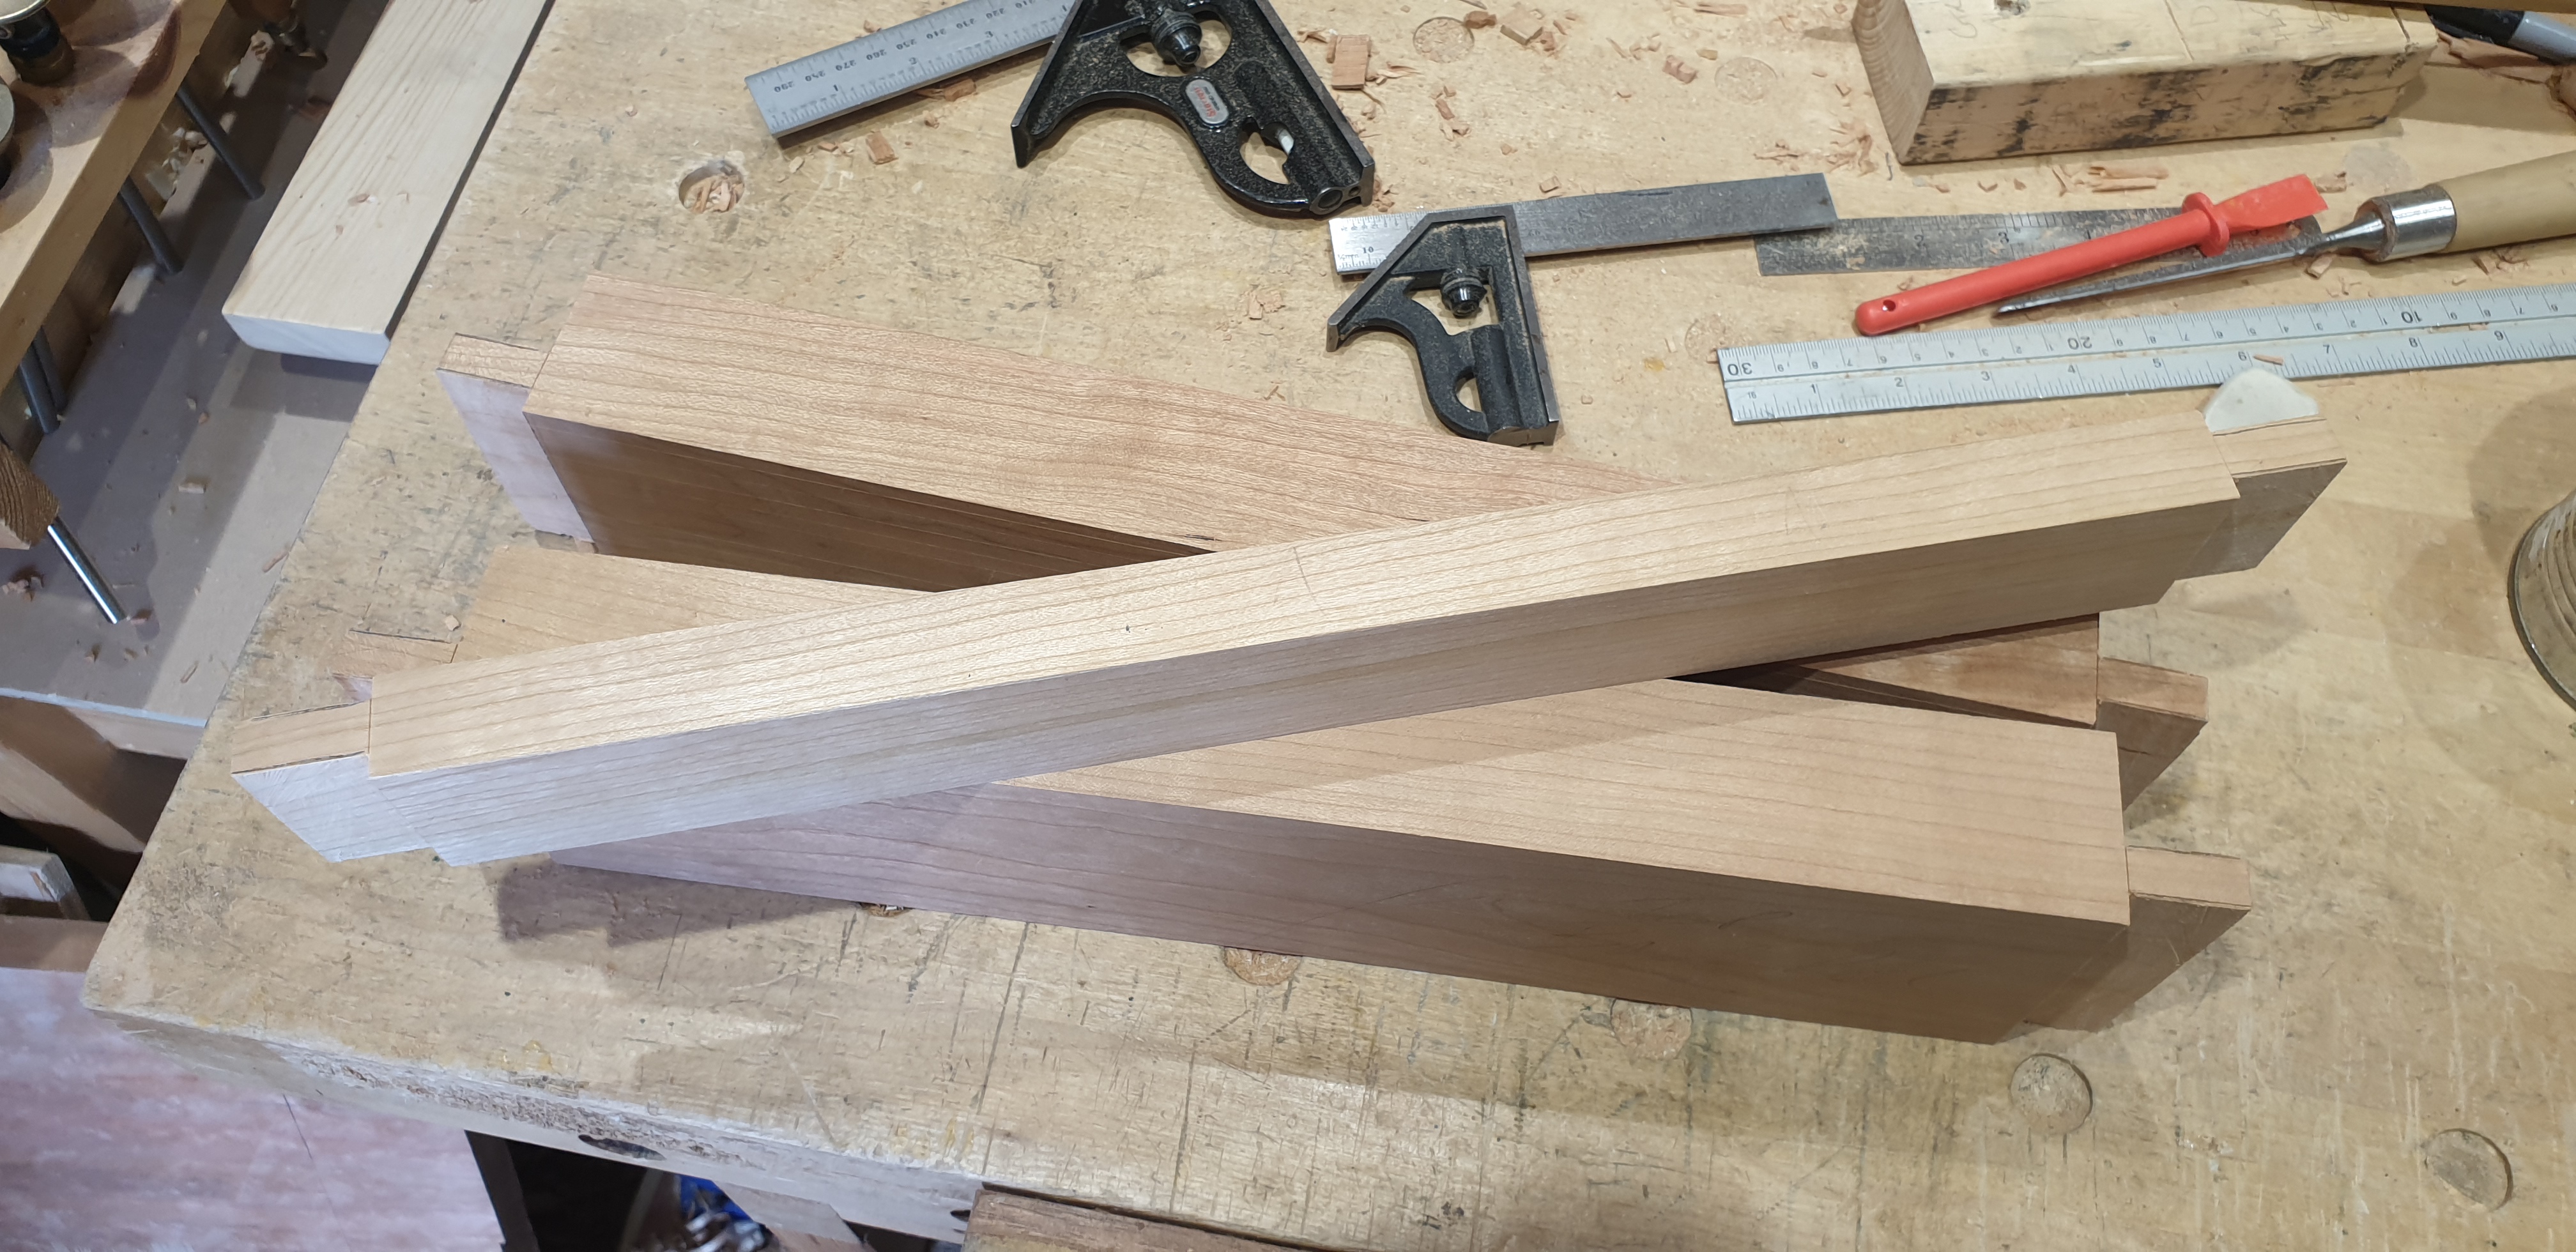 Tenons cut for the cross rails on the back legs
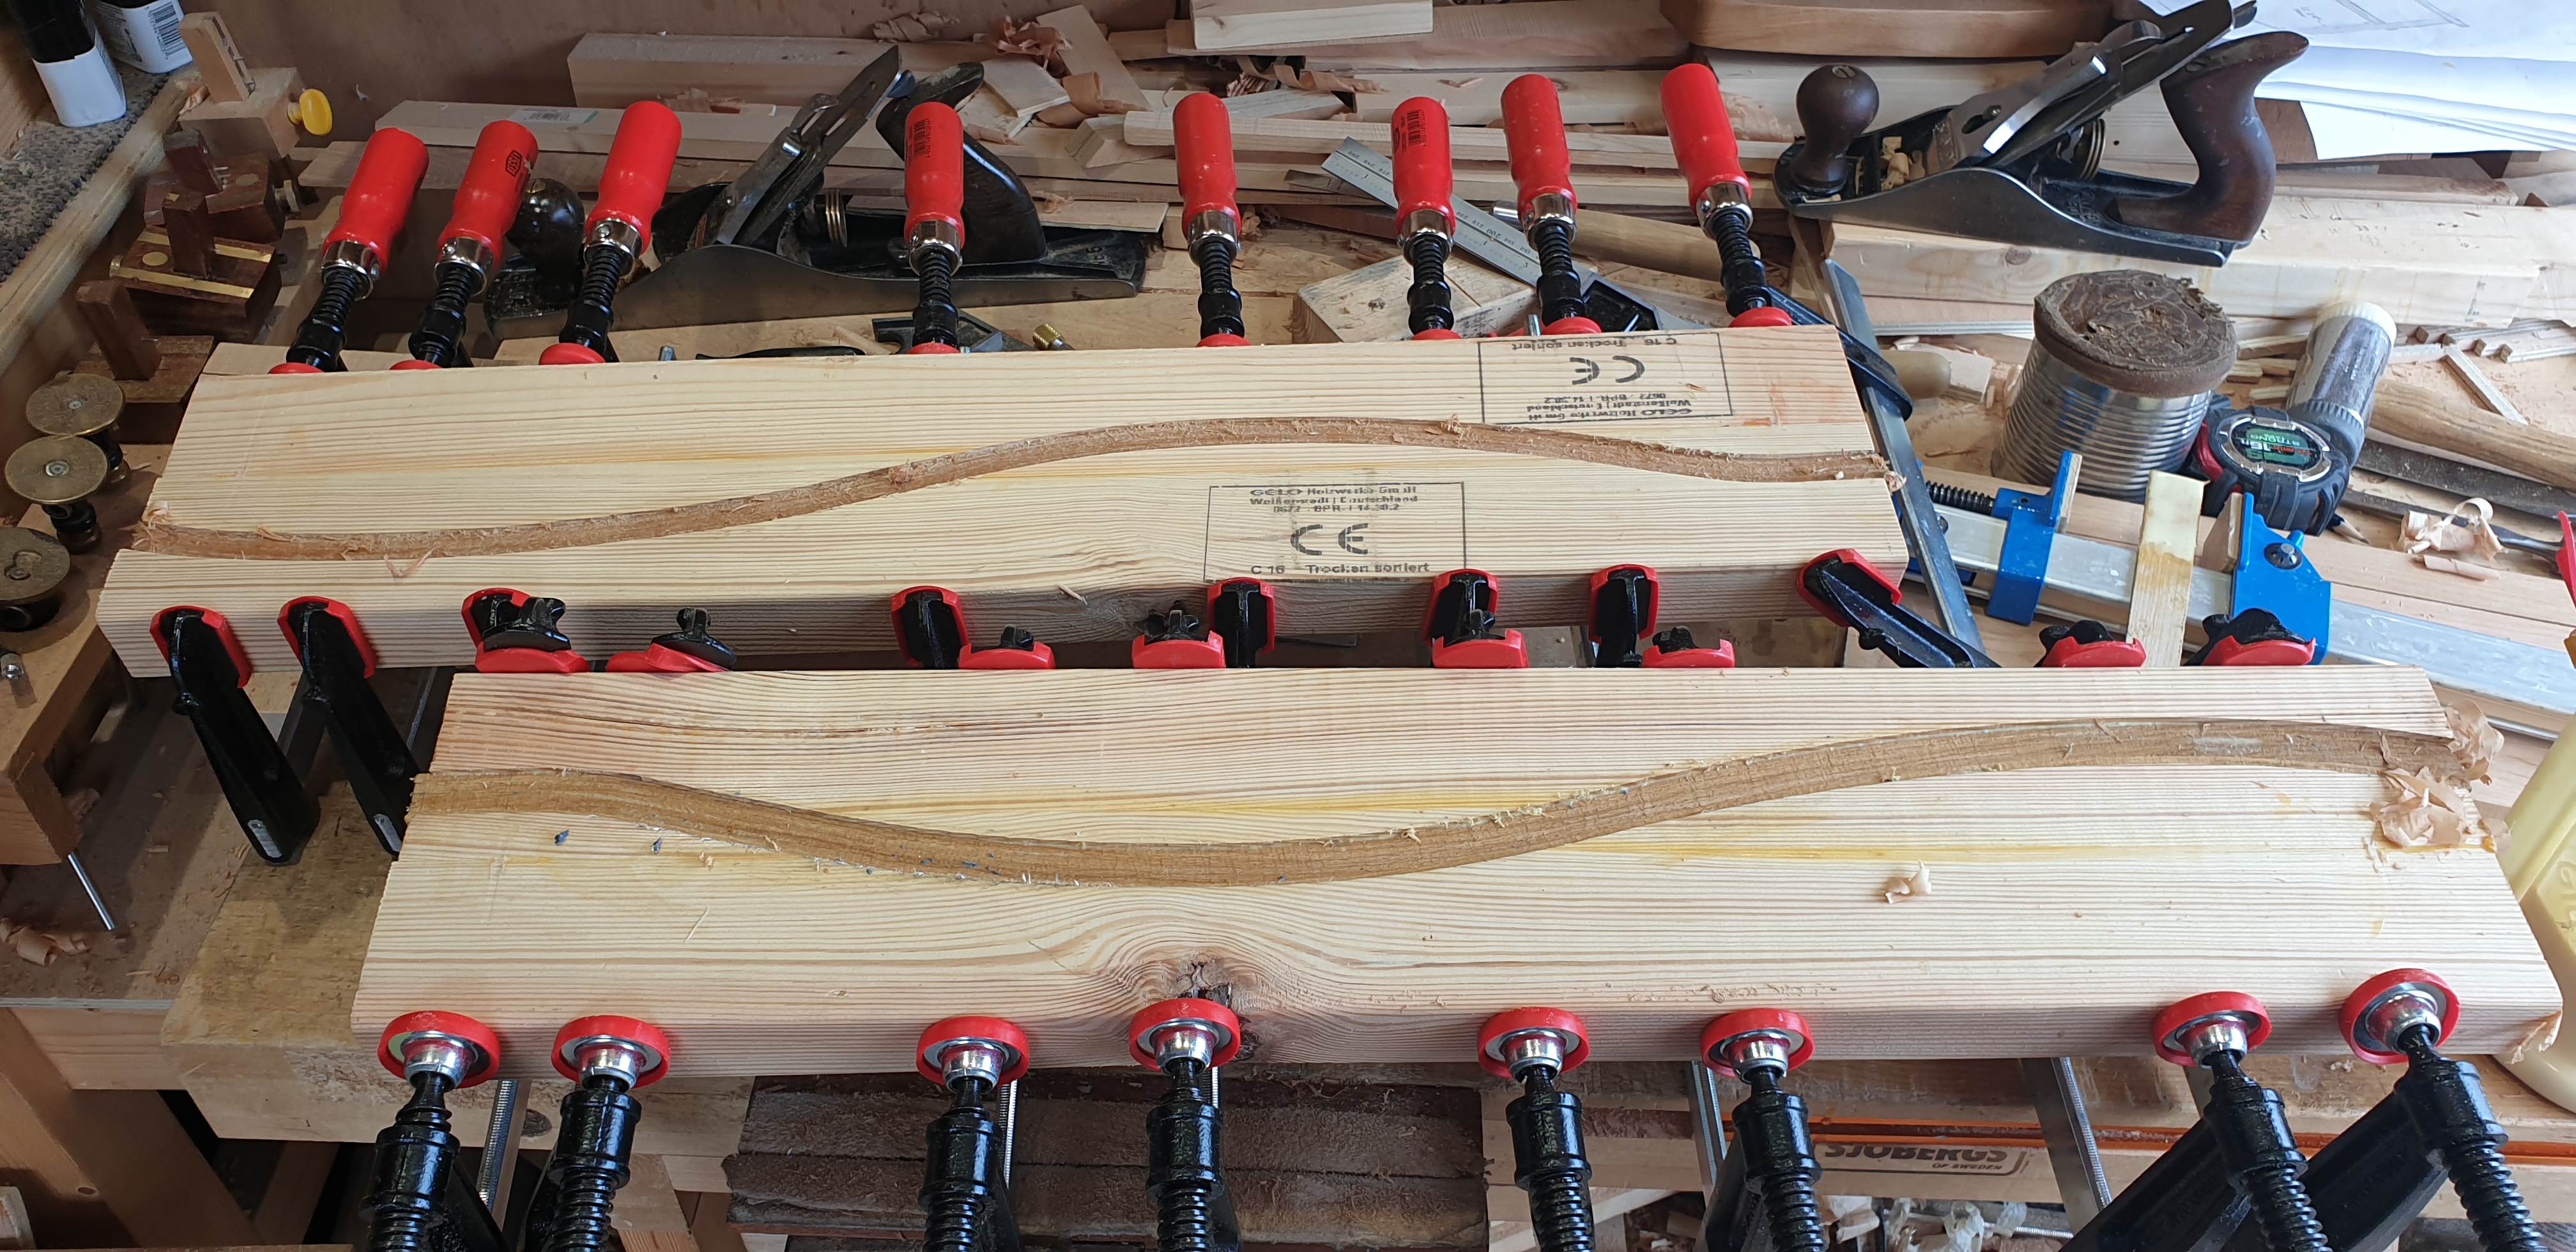 First two slats glued and bent into shape. 5 more to go...
|
|
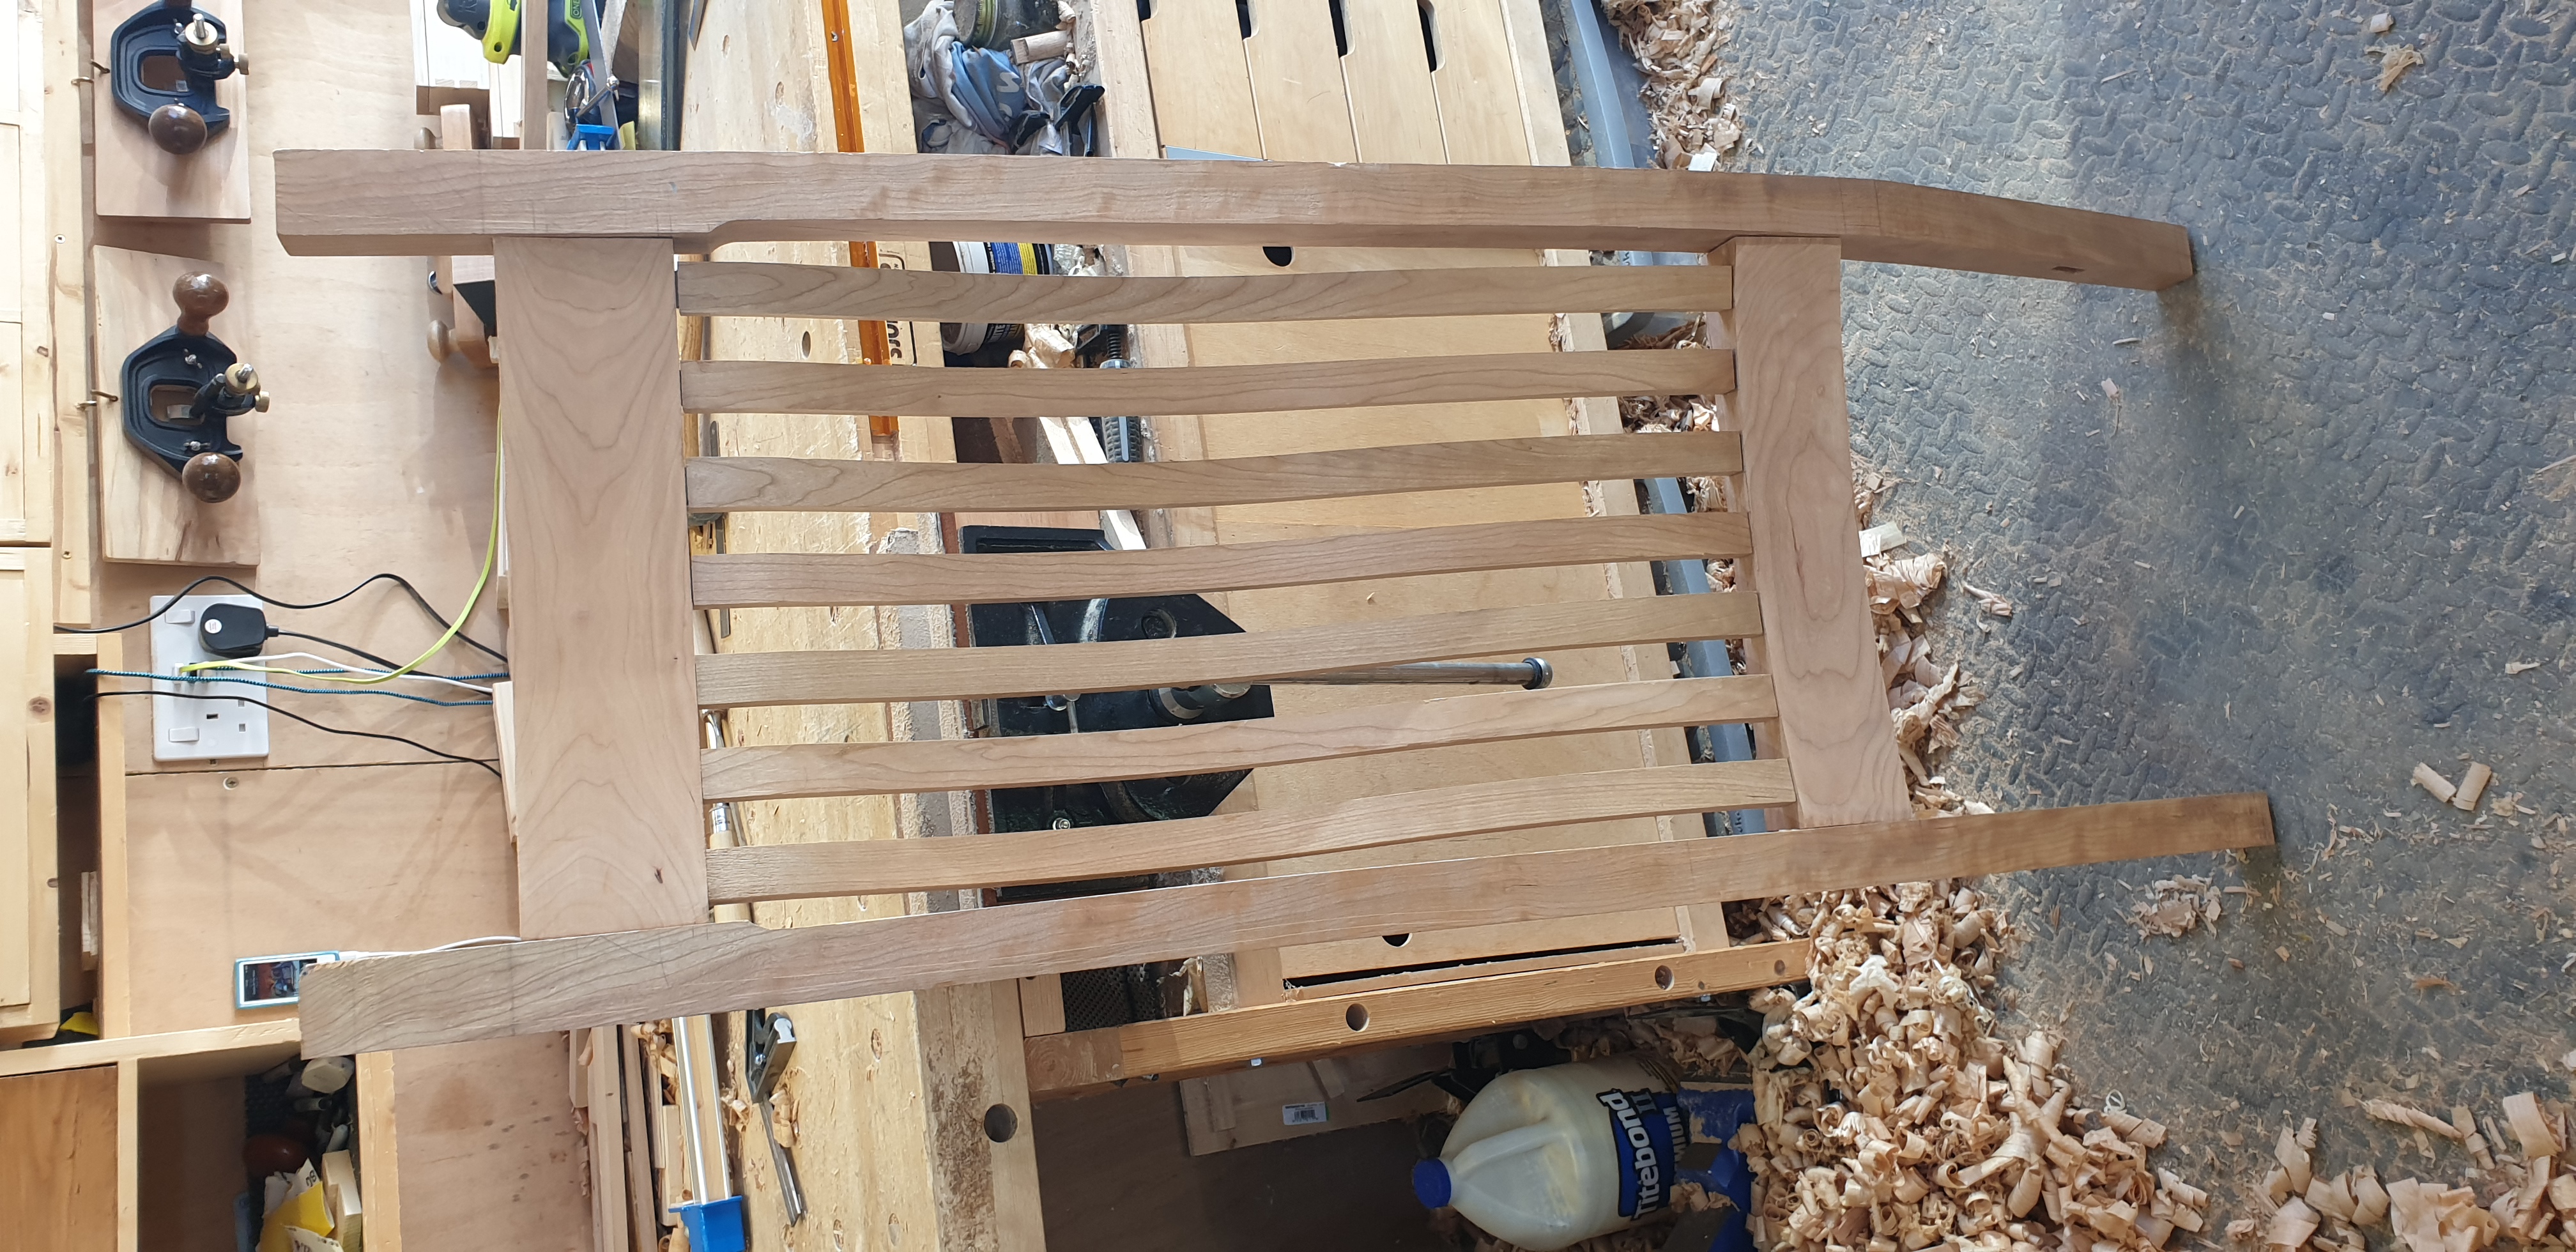 Starting to look like a chair now
Shaping the seat using vairous tools. Scorp, spoke-shave, No 7 carving gouge and a home made curved sole plane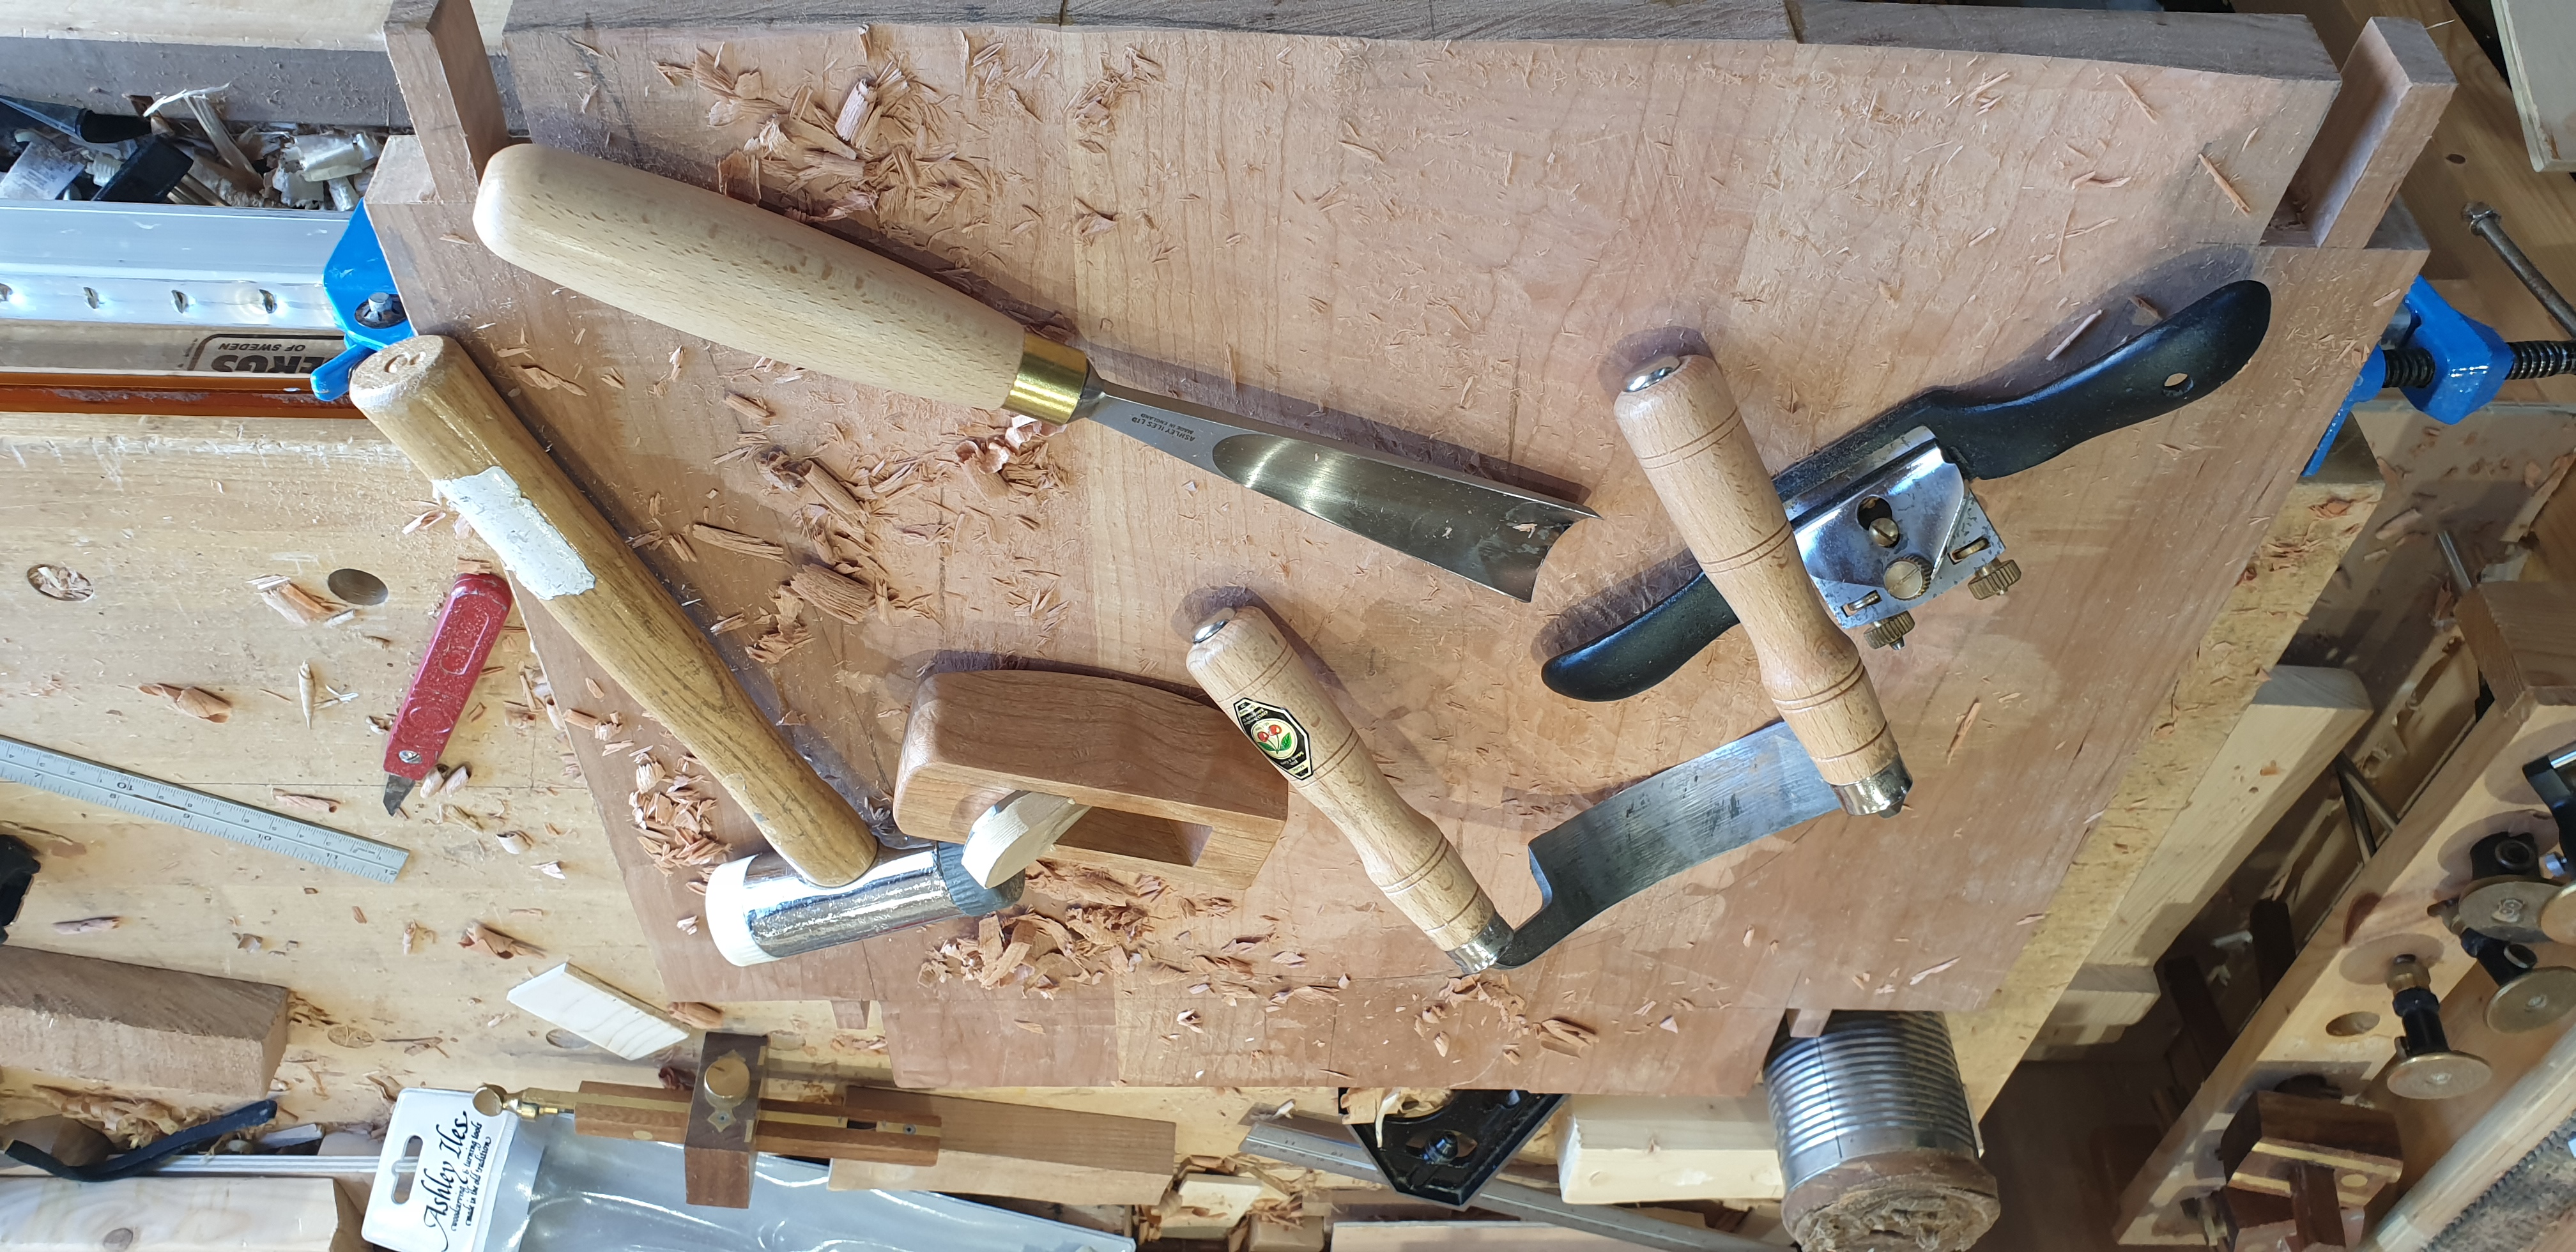
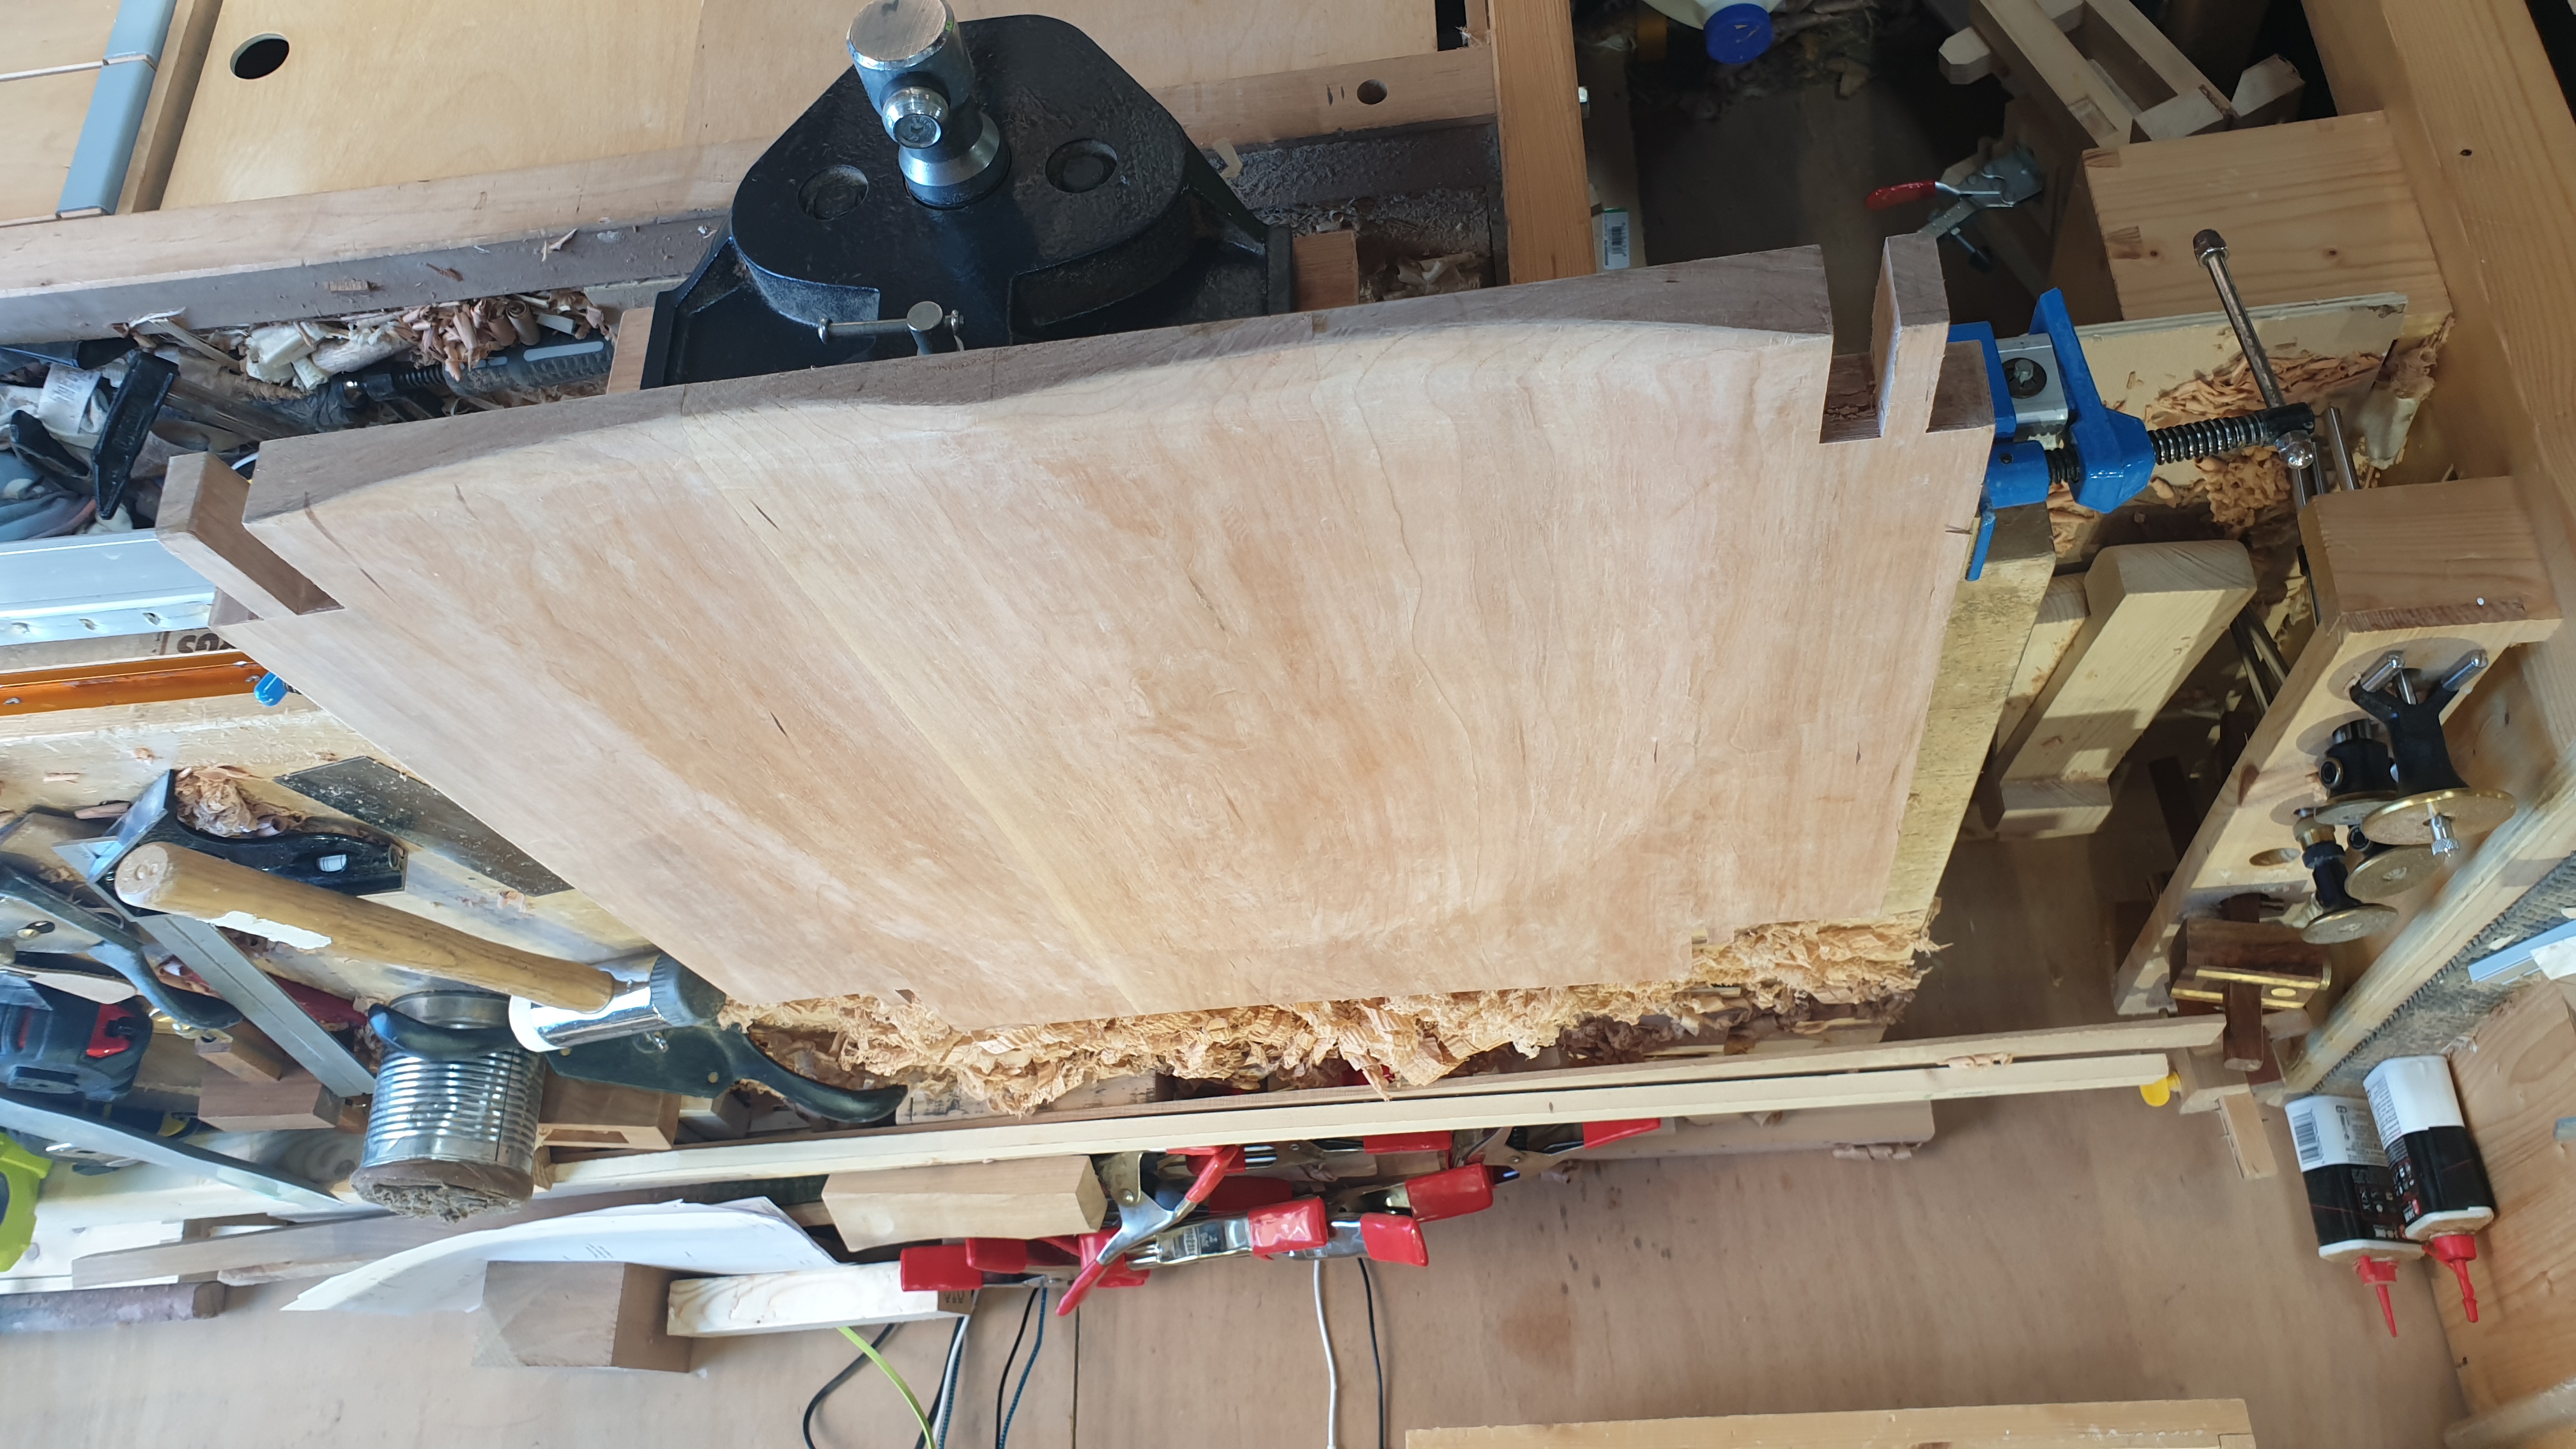 A seat fit for anyone's derrière
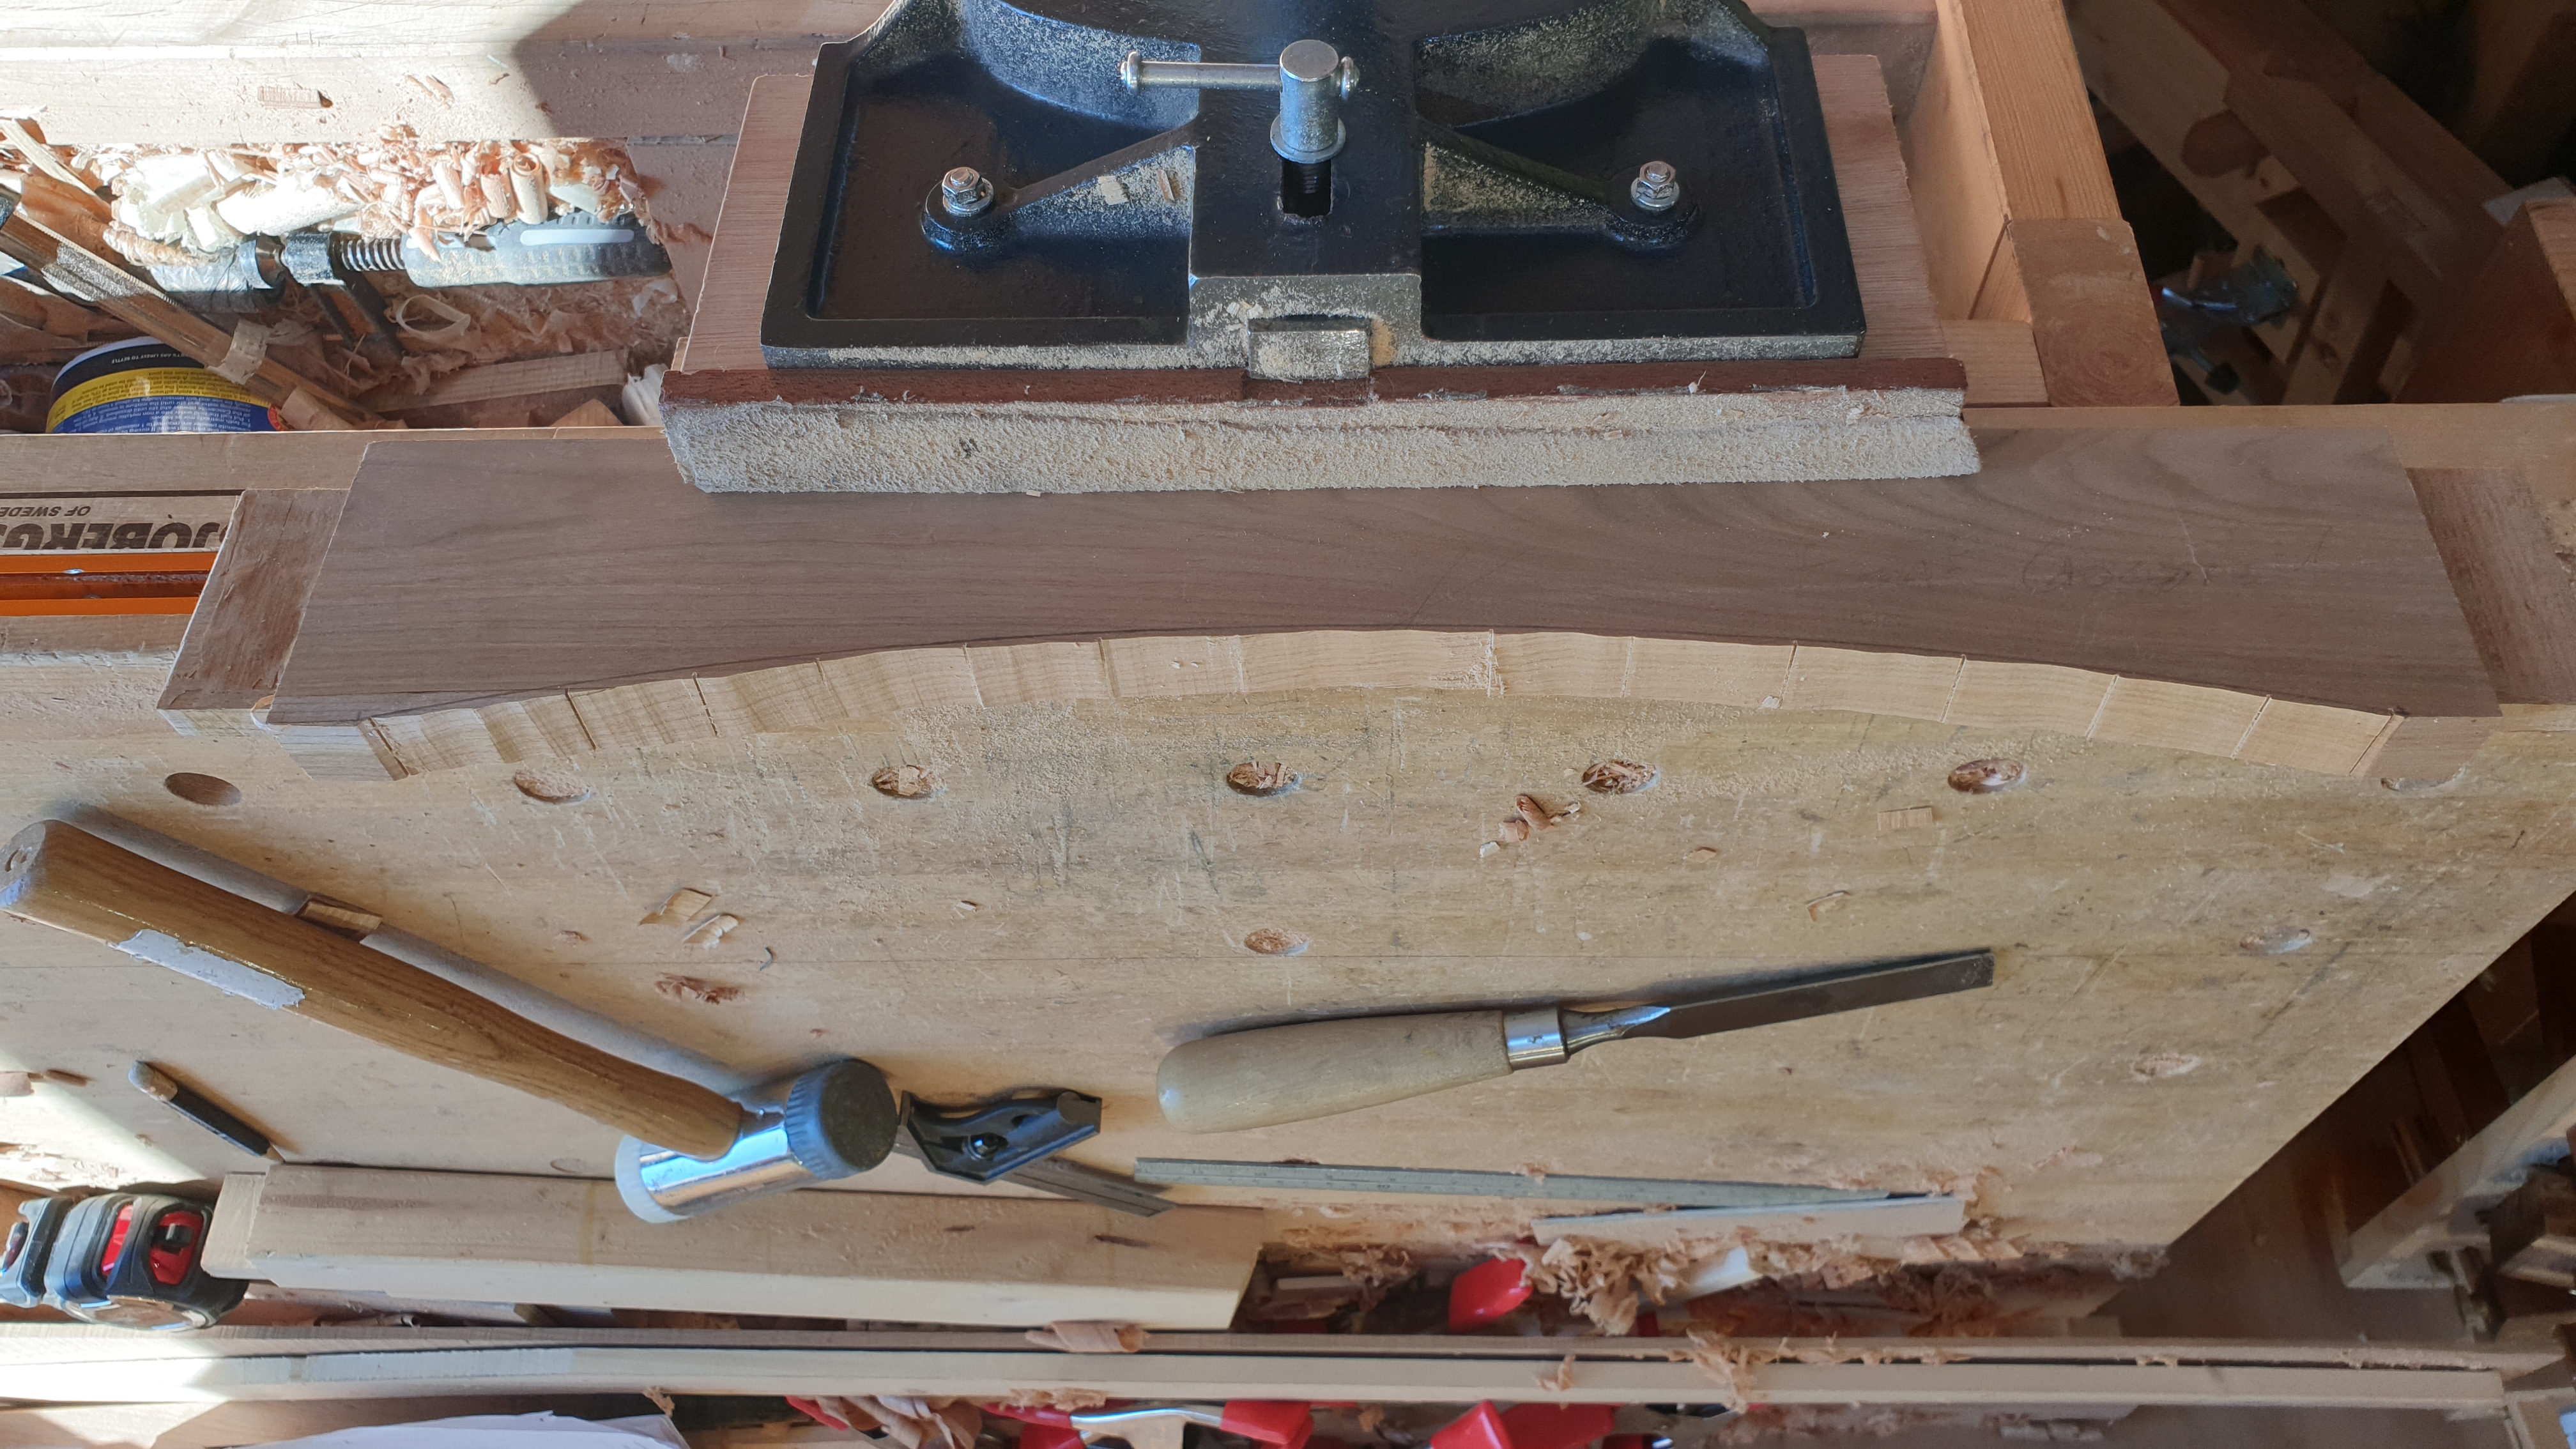
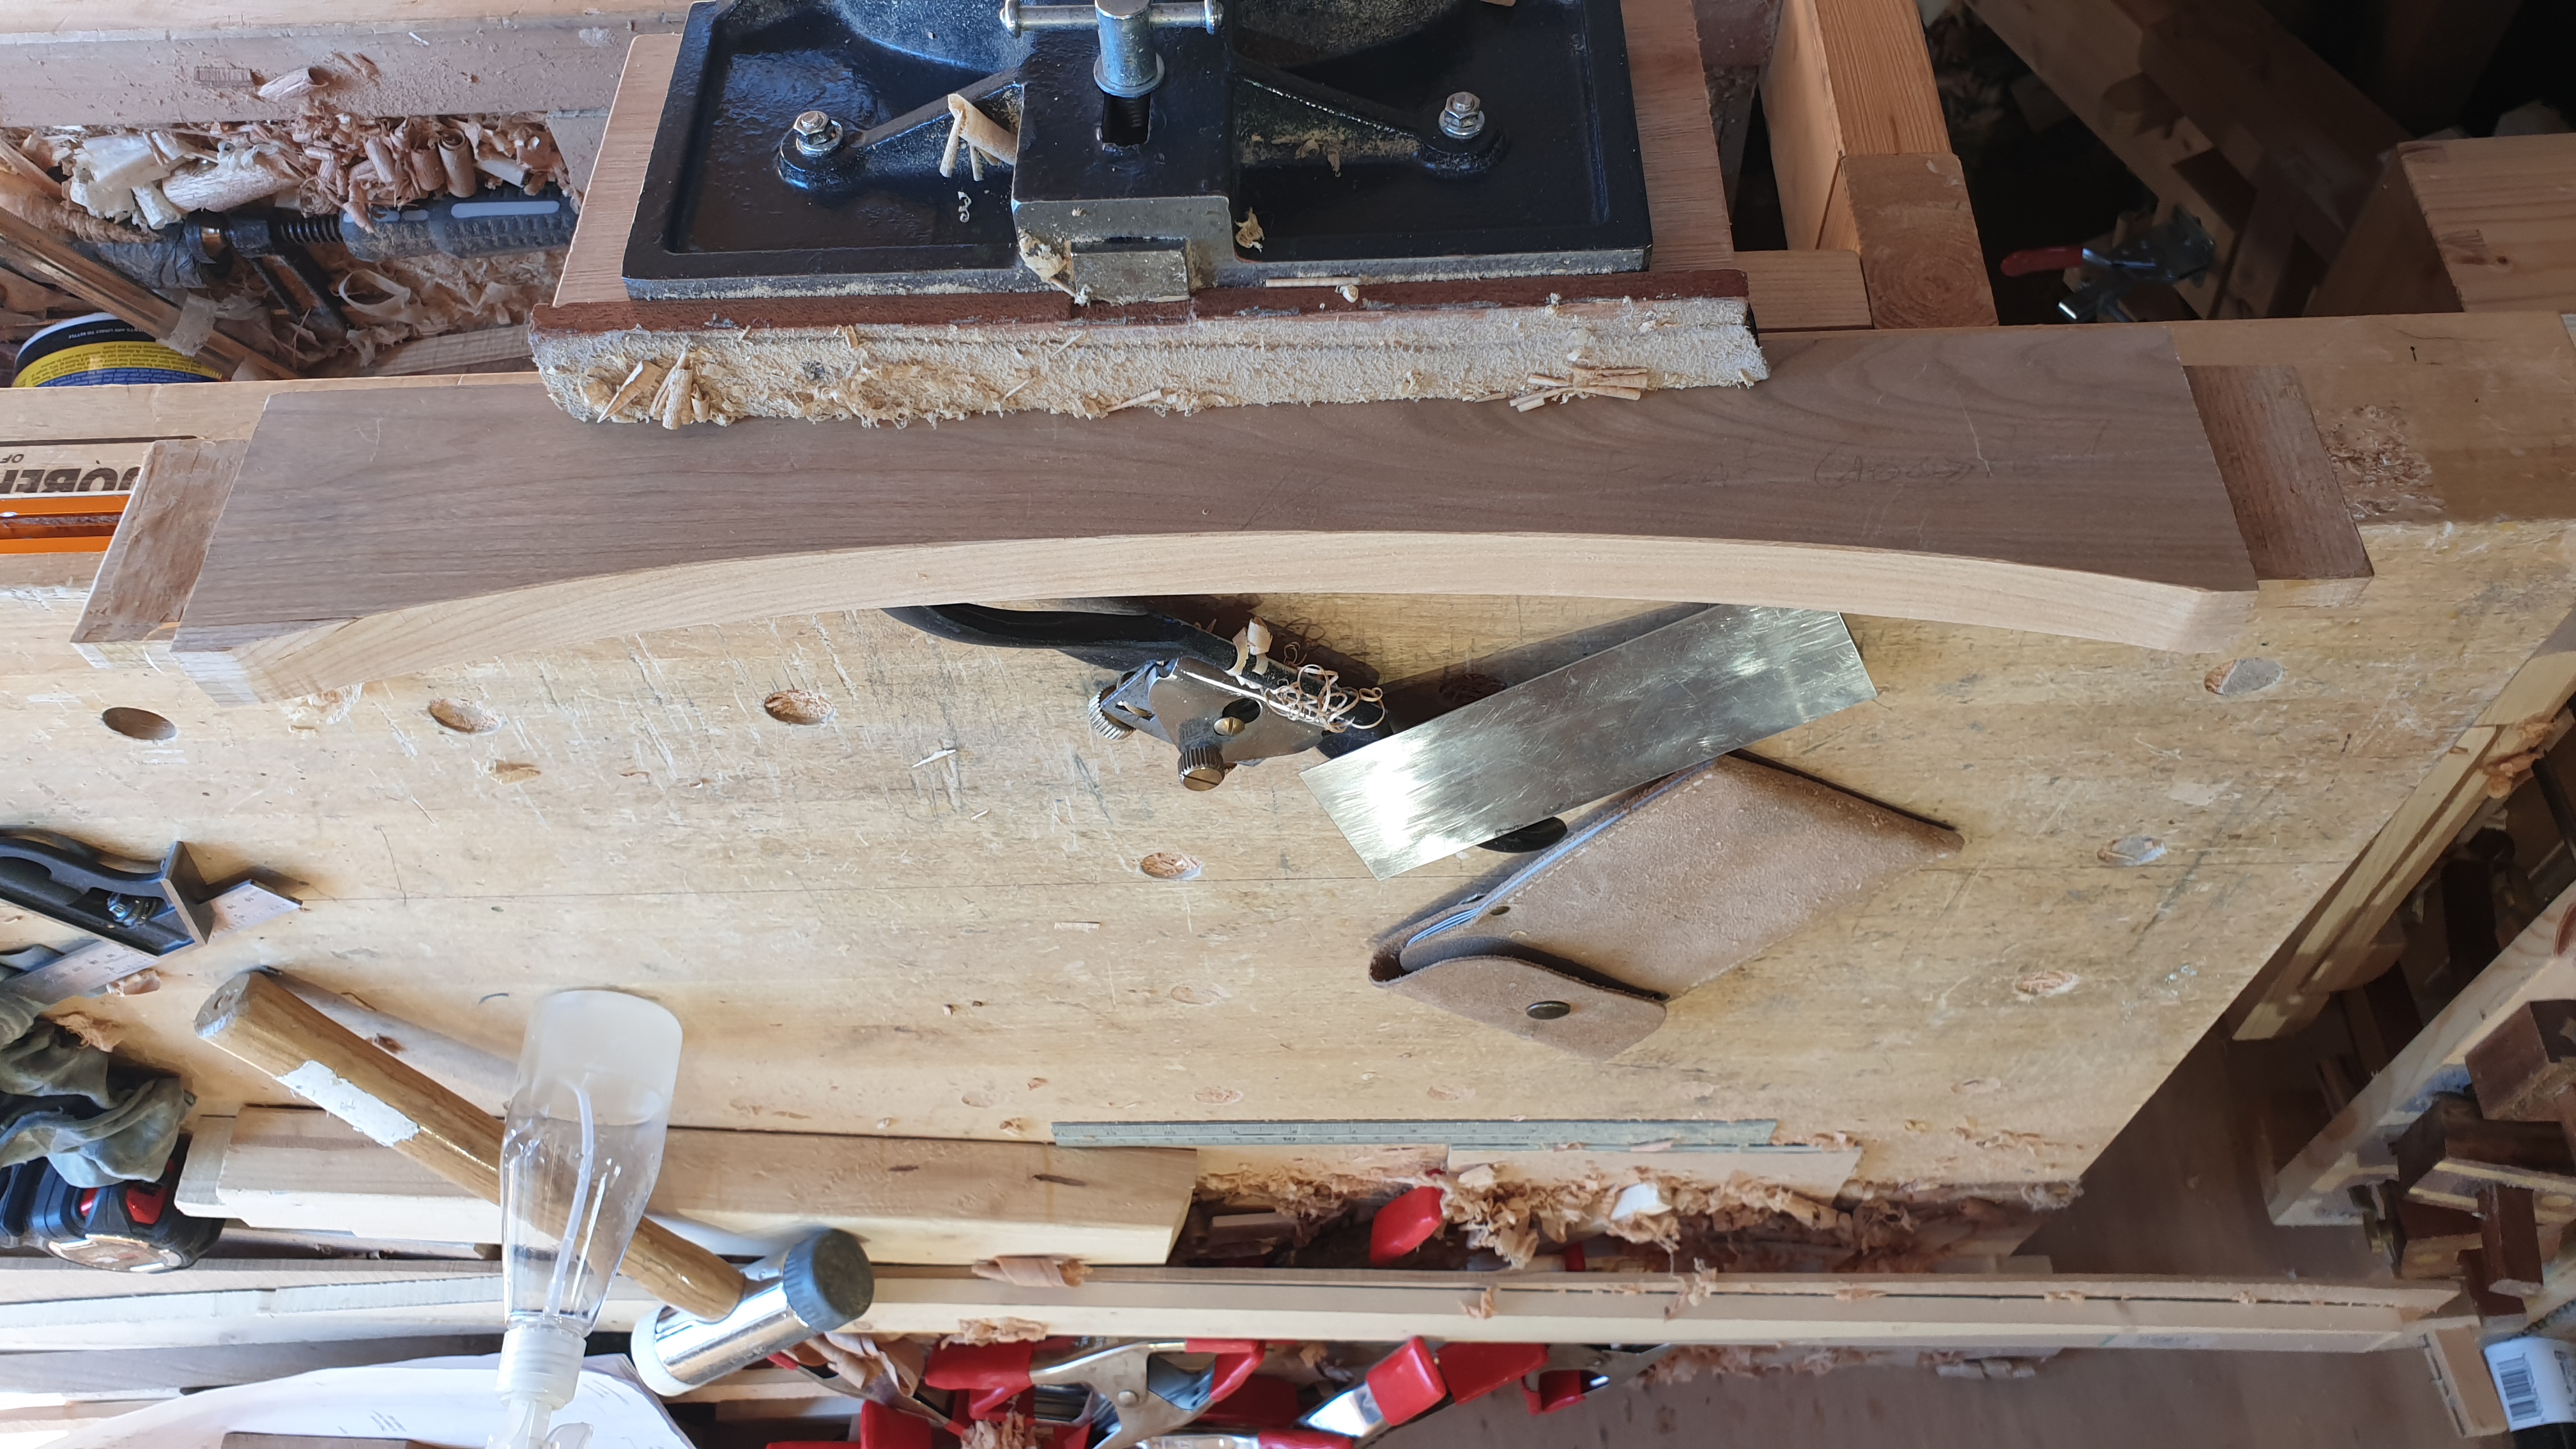
Here I'm using the stop cut method for shaping the front rail. As series of saw cuts down to the line of the shape to be cut and then chopping with the chisel (bevel down). Finally, the spoke shave and card scraper are used to finish the profile
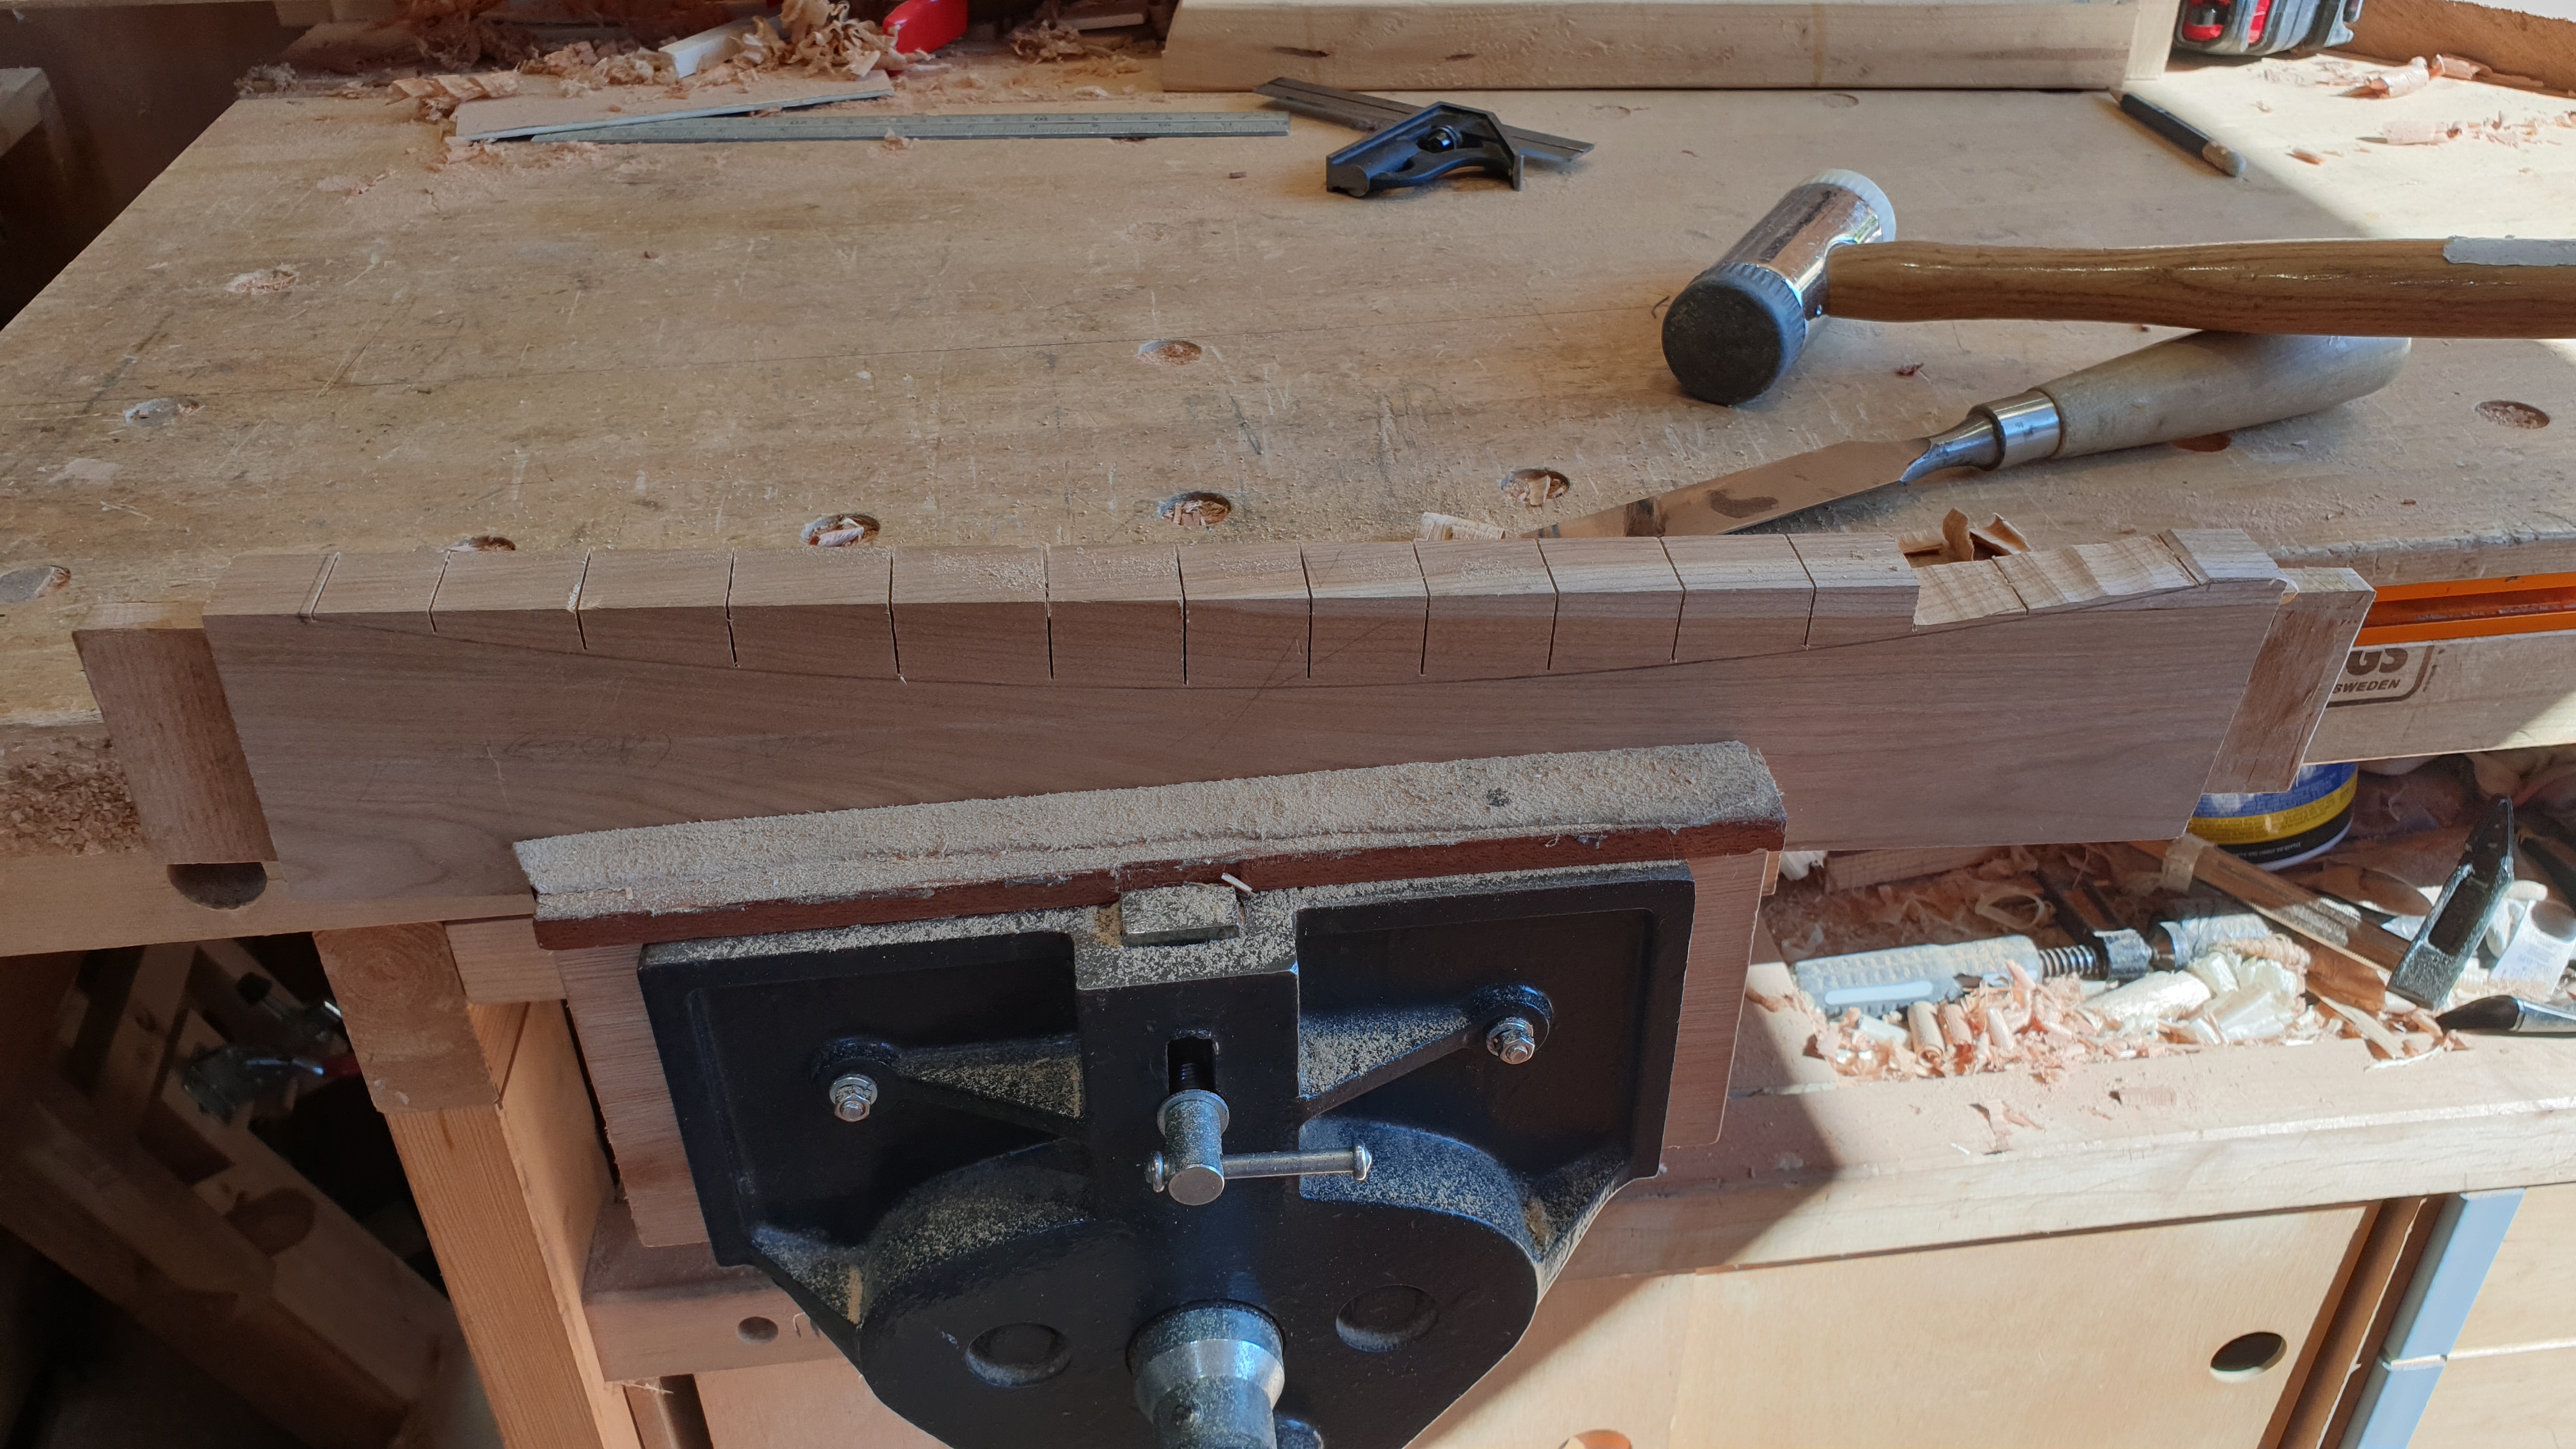
With all of the joinery done it's now just a matter of Shaping & Finishing the components.

